Difference between revisions of "Template:FMT1 First start card"
From Wiki Knowledge Base | Teltonika GPS
Simkunas.ma (talk | contribs) |
Simkunas.ma (talk | contribs) |
||
| Line 1: | Line 1: | ||
[[Image:Qsg_rut950_teltonika.PNG|centre]] | [[Image:Qsg_rut950_teltonika.PNG|centre]] | ||
| − | <b><font size="+ | + | <b><font size="+6">{{{model|FMT1YX}}} smart waterproof GNSS tracker with {{{connectivity|Bluetooth connectivity}}} and {{{battery|internal}}} backup battery</font></b> |
| − | <font size="+ | + | <font size="+1">Quick Start Guide</font> {{{pic|[[Image:Fmt100_main.png|400px|right]]}}} |
Revision as of 10:02, 12 June 2018
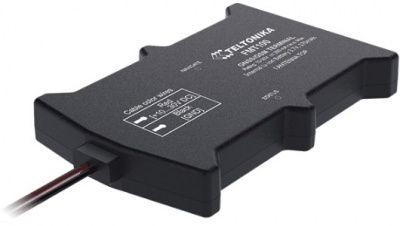
FMT1YX smart waterproof GNSS tracker with Bluetooth connectivity and internal backup battery
Quick Start Guide
How to insert micro SIM card into FMB9YX
1. Unscrew the screws.
2. Remove the cover.
3. Insert micro SIM card as shown (bottom slot).
4. Insert SD card as shown (top slot).
5. Attach the cover and put the screws back in.


