Wialon+DUAL CAM solution: Difference between revisions
No edit summary |
|||
| Line 30: | Line 30: | ||
Dual Cam server settings will be different: | Dual Cam server settings will be different: | ||
Domain: | Domain: Will be the same as from Wialon for the device | ||
Port: 22148 | Port: 22148 | ||
[[File: | [[File:Dual cam server 22.jpg|alt=|frameless]] | ||
'''Step 5''' | '''Step 5''' | ||
Revision as of 15:46, 23 March 2022
DUAL CAM on Wialon platform
For monitoring our device we have a lot of third-party platforms but only one at the moment which supports the DUAL CAM solution is Wialon. In this chapter, we will show you how to configure the device and also how to configure the Wialon platform for receiving information from DUAL CAM.
Device configuration
Step 1
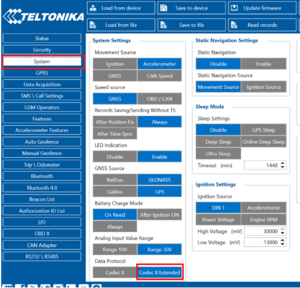
Enable codec 8 extended.
Step 2
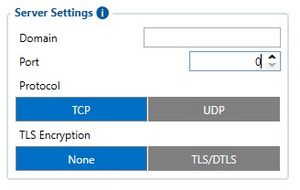
Configure Domain and Port for the device to send data to the Wialon. This information you will find then you register the device in Wialon
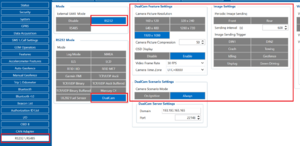
Step 3 Go to RS232/RS485 and enable DualCam and configure the DualCam image sending setting for your needs.
Step 4
Dual Cam server settings will be different:
Domain: Will be the same as from Wialon for the device
Port: 22148
Step 5
Dual Cam Video settings, for the video settings only select Video frame rate to 30 FPS.
Note: Do not activate Video Sending Triggers in the configurator, because if you set this setting and device triggered video the Wialon platform will not accept it. So only from the Wialon side must be set video commands in the next chapter Wialon settings we will show how to configure it.
Wialon configuration
Step 1
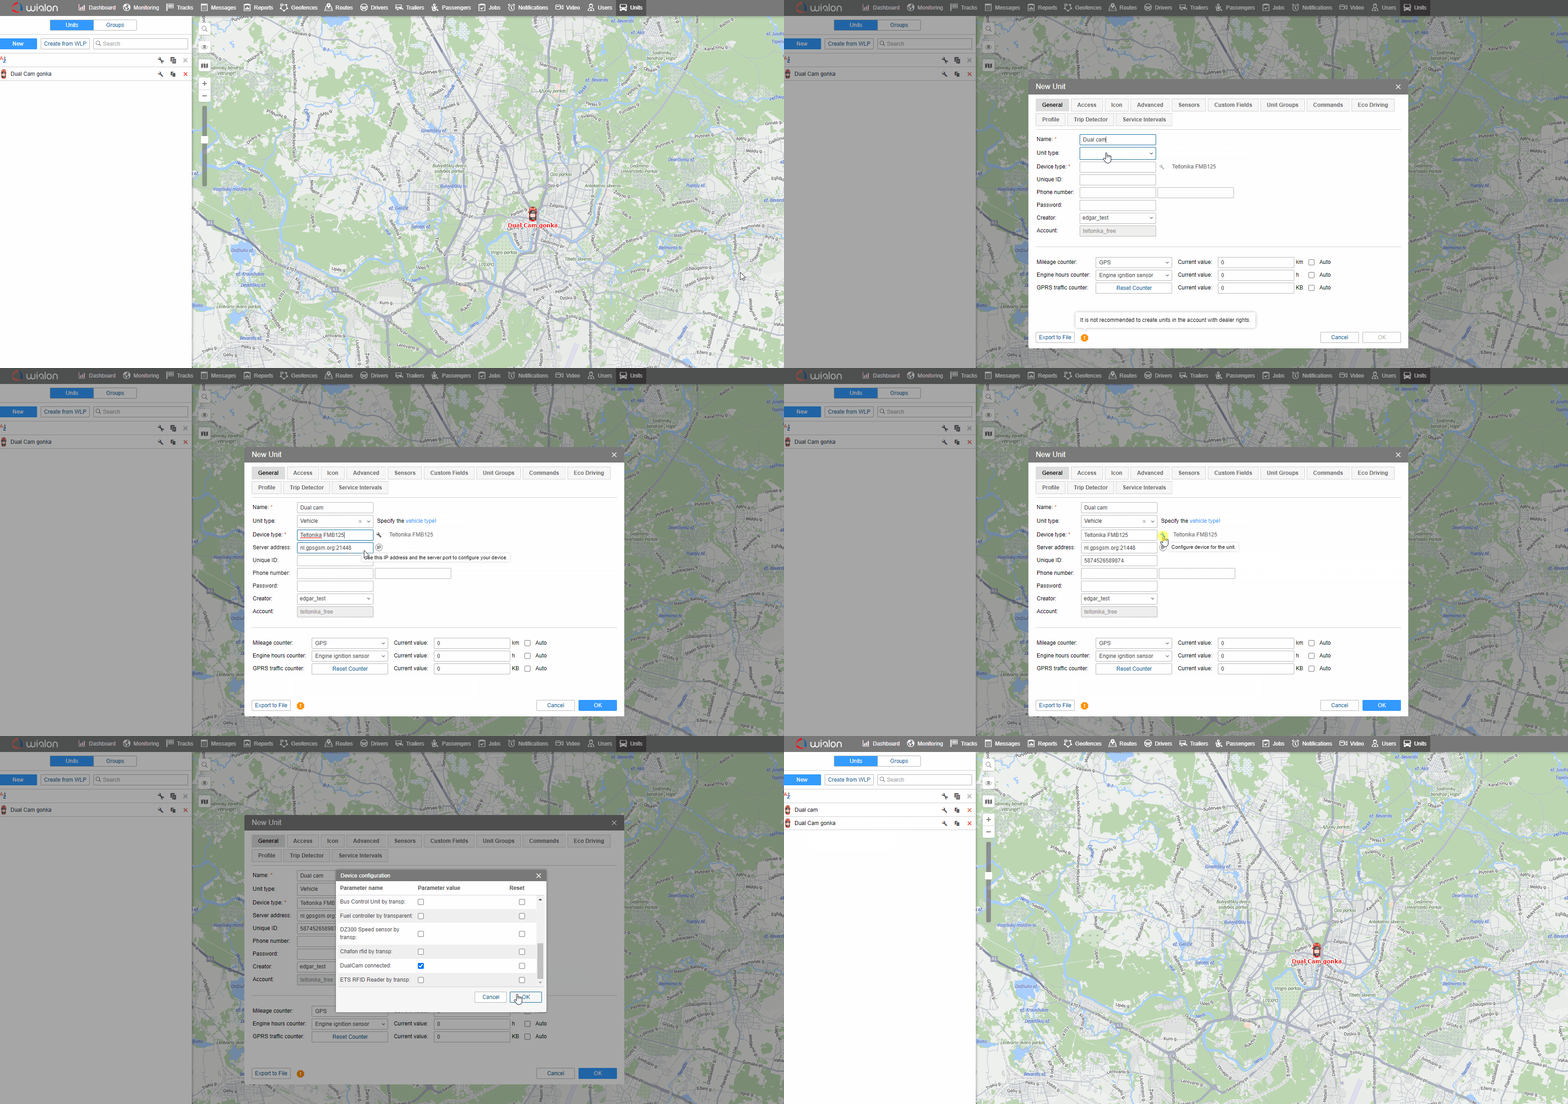
Login into Wialon and go to the Units and select New.
Configure the device and activate DualCam according to the GIF.
Note: You must enter device IMEI in "Unique ID" to identify device in Wialon platform.
Step 2
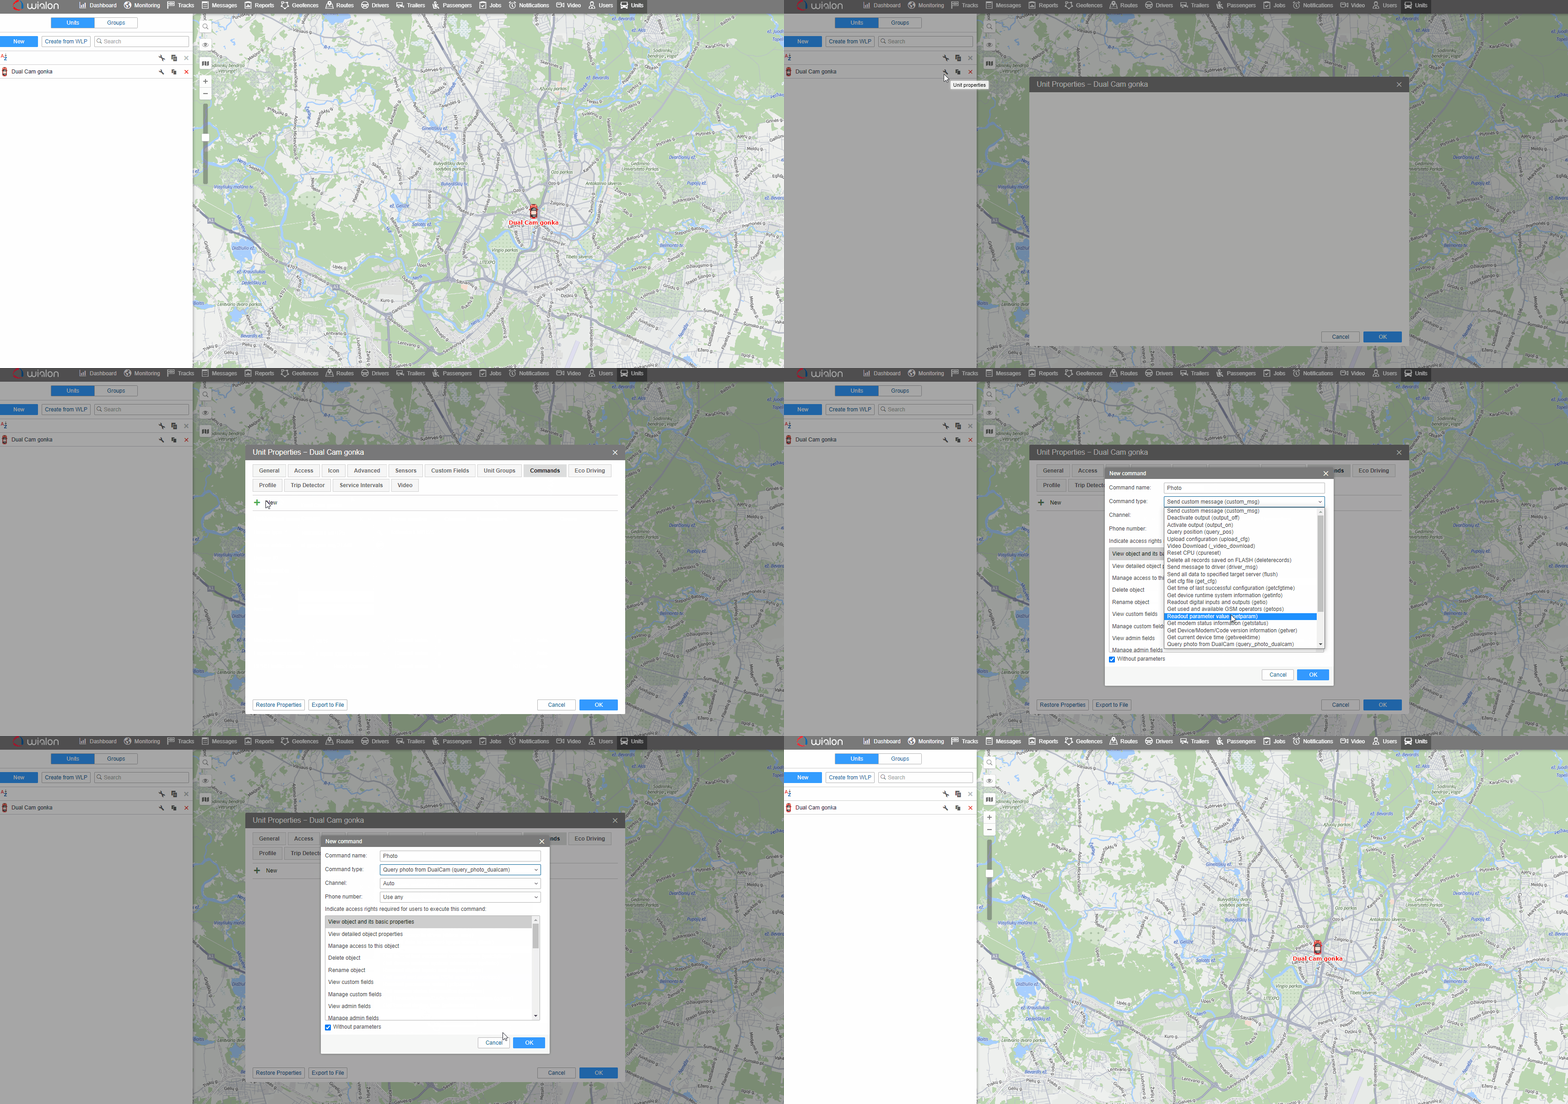
Set the command to request a photo.
Go to Units tab and push on "wrench" icon.
Now select "Commands" and press new.
Then you should press "New" button to call out new window.
You'll need to create the name of the command and select the command type according to the GIF.
After that press ok and the command will appear.
Step 3
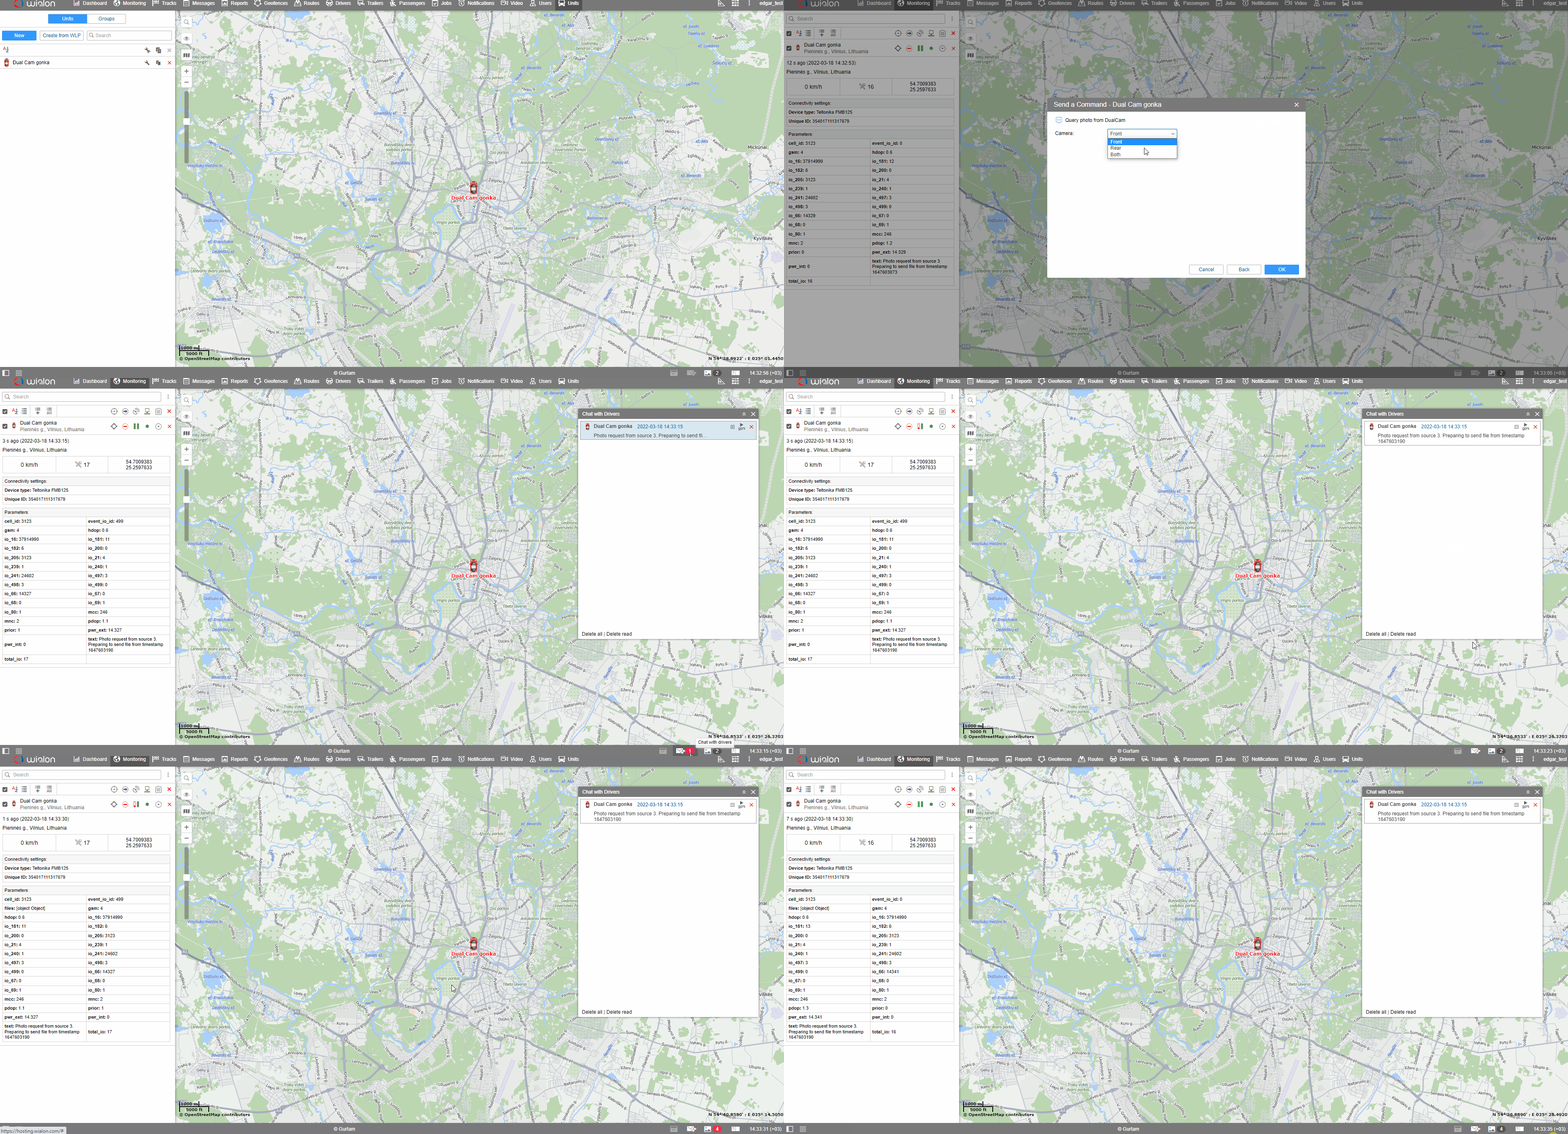
After the command was created, you should to go to the "Monitoring" tab, select needed device and press the arrow and select GPRS.
After that select from which camera you need to get front-rear photo and press ok.
After you will see new window opened and command was sent, you will see that new picture arrived from the rear camera and then from the front.
Step 4
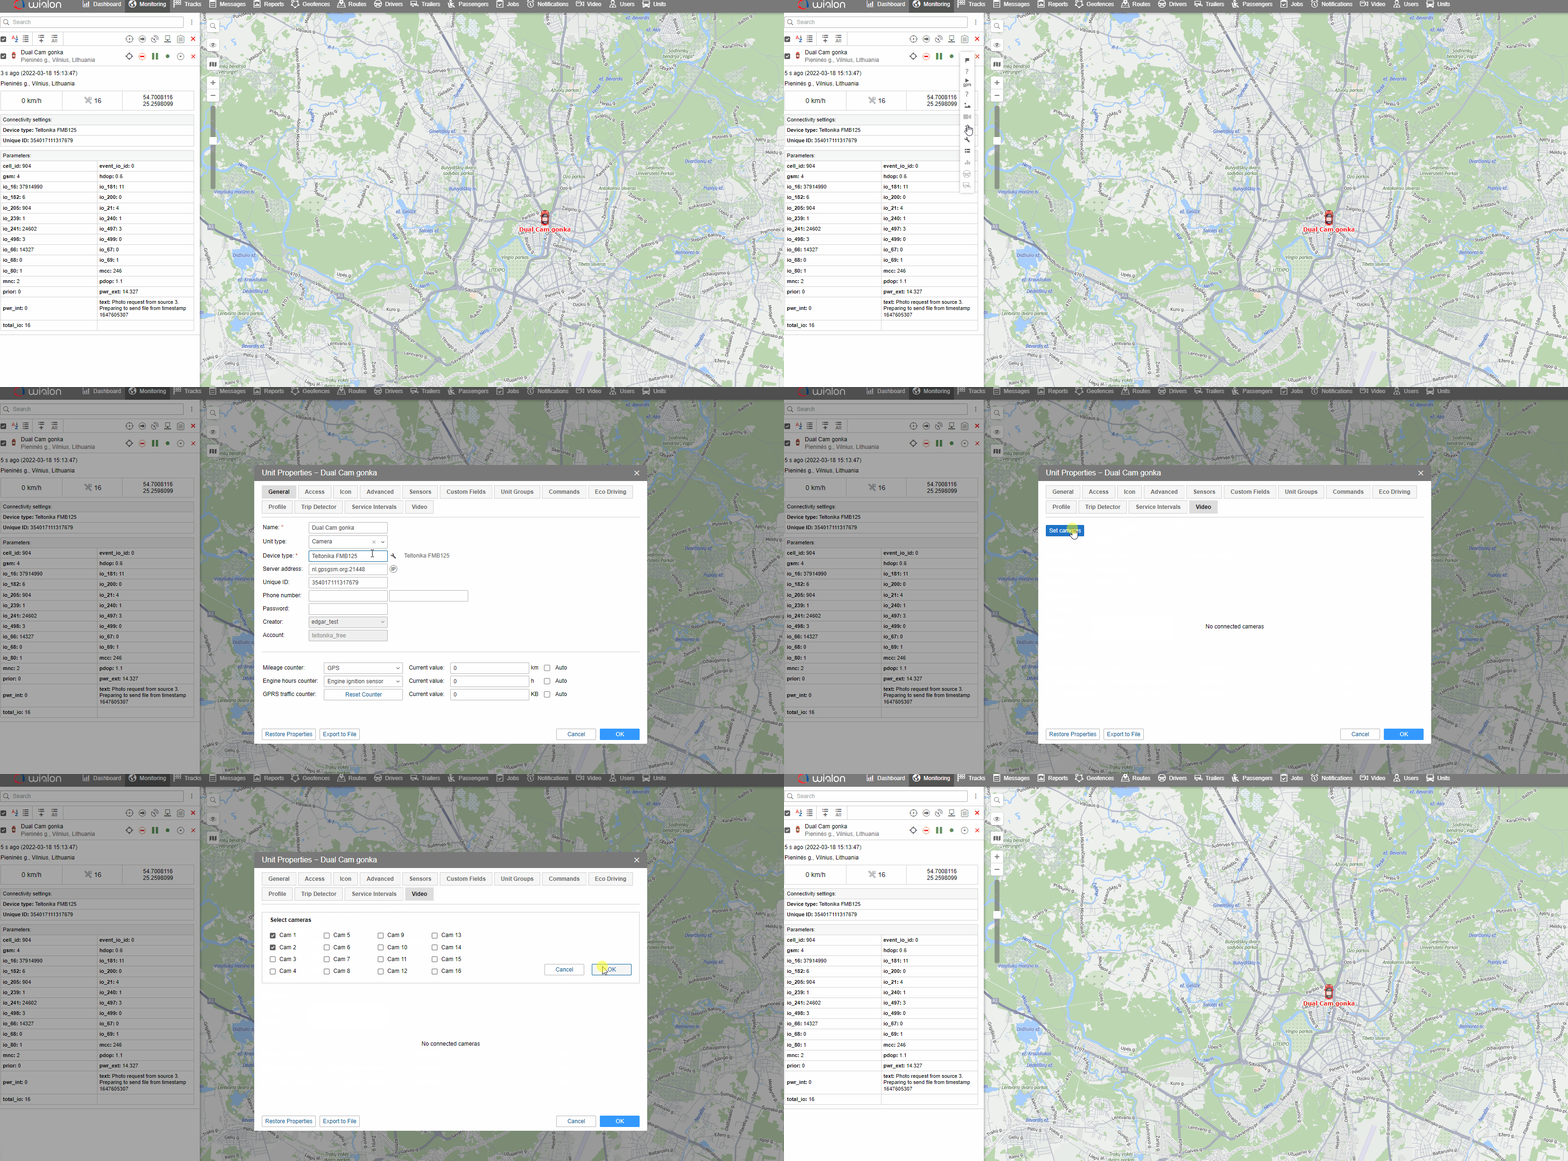
Video request set up.
First open unit properties.
Than, go to the "Video" section, select "Set cameras", choose Cam 1 Cam 2 and pres ok twice.
Step 5
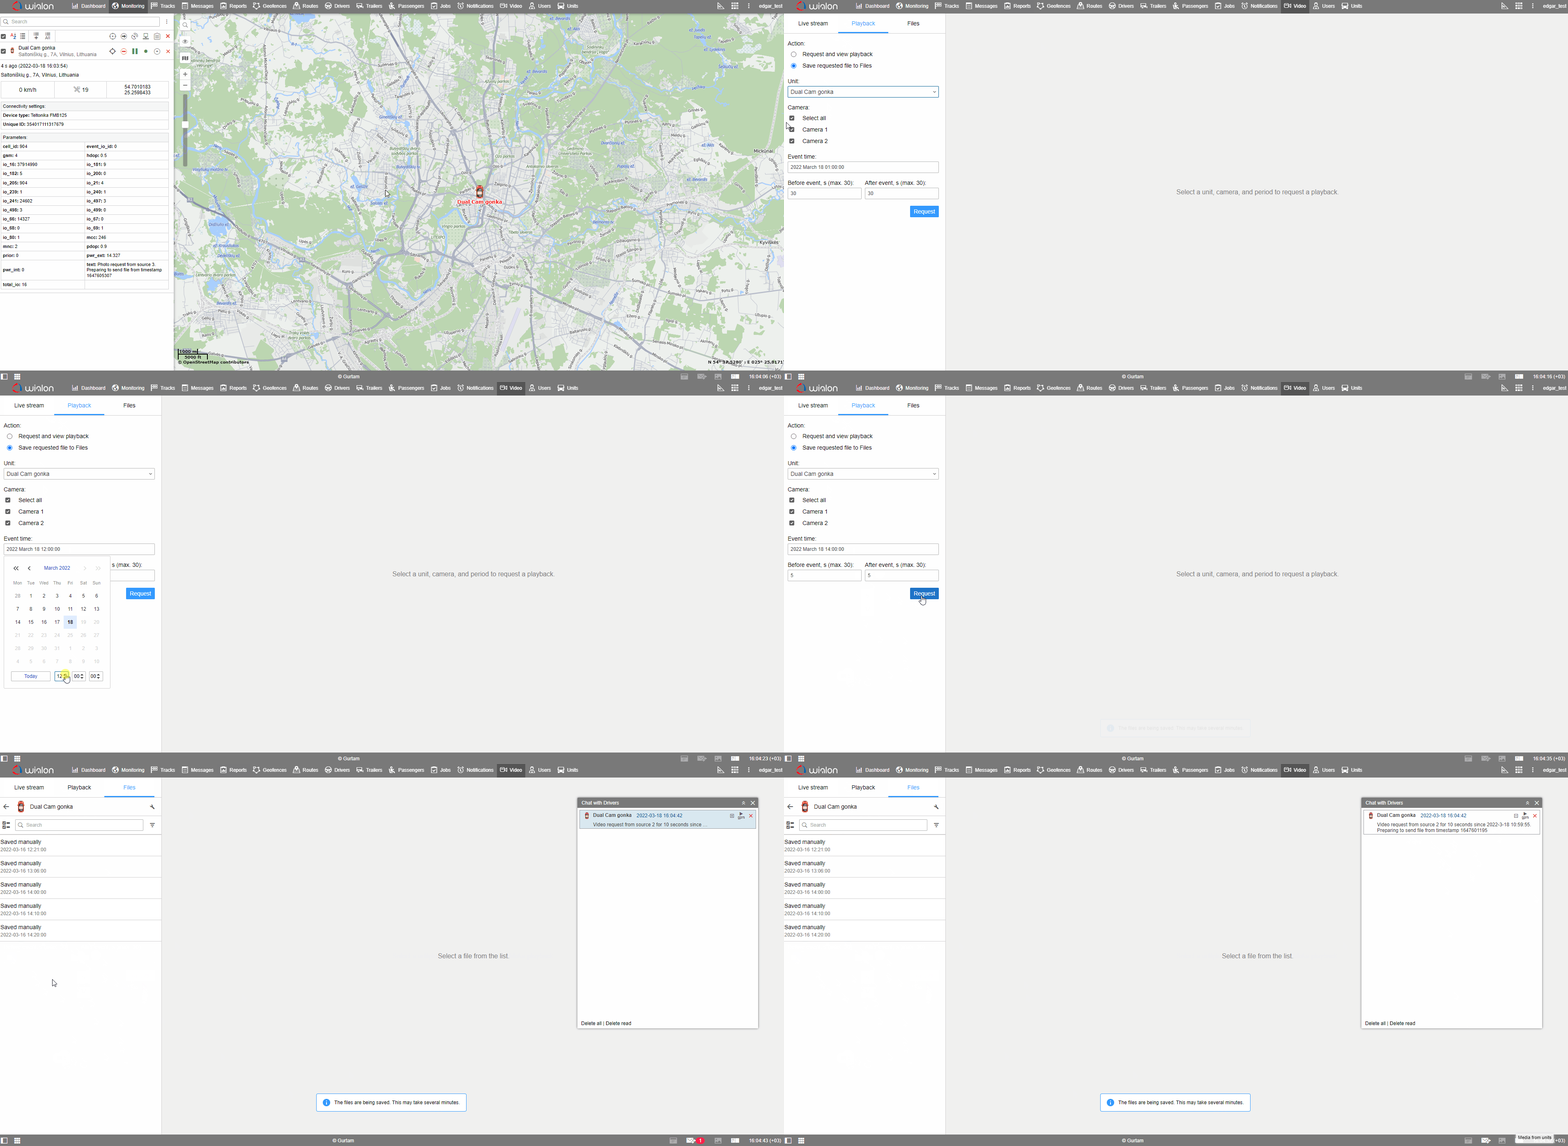
To request a video go to the "Video" section, select "Playback", select "save requested file to Files", select "Unit". After setting date and time of the video you need, press "Request". Wialon will generate a message and show the files in the "Files" section. Finally, it will be sent to Wialon.
Note: We recommend creating a notification with the same time intervals and no more than +/-15 sec. The video file duration can be max 30 sec (according device limitation).
Step 6
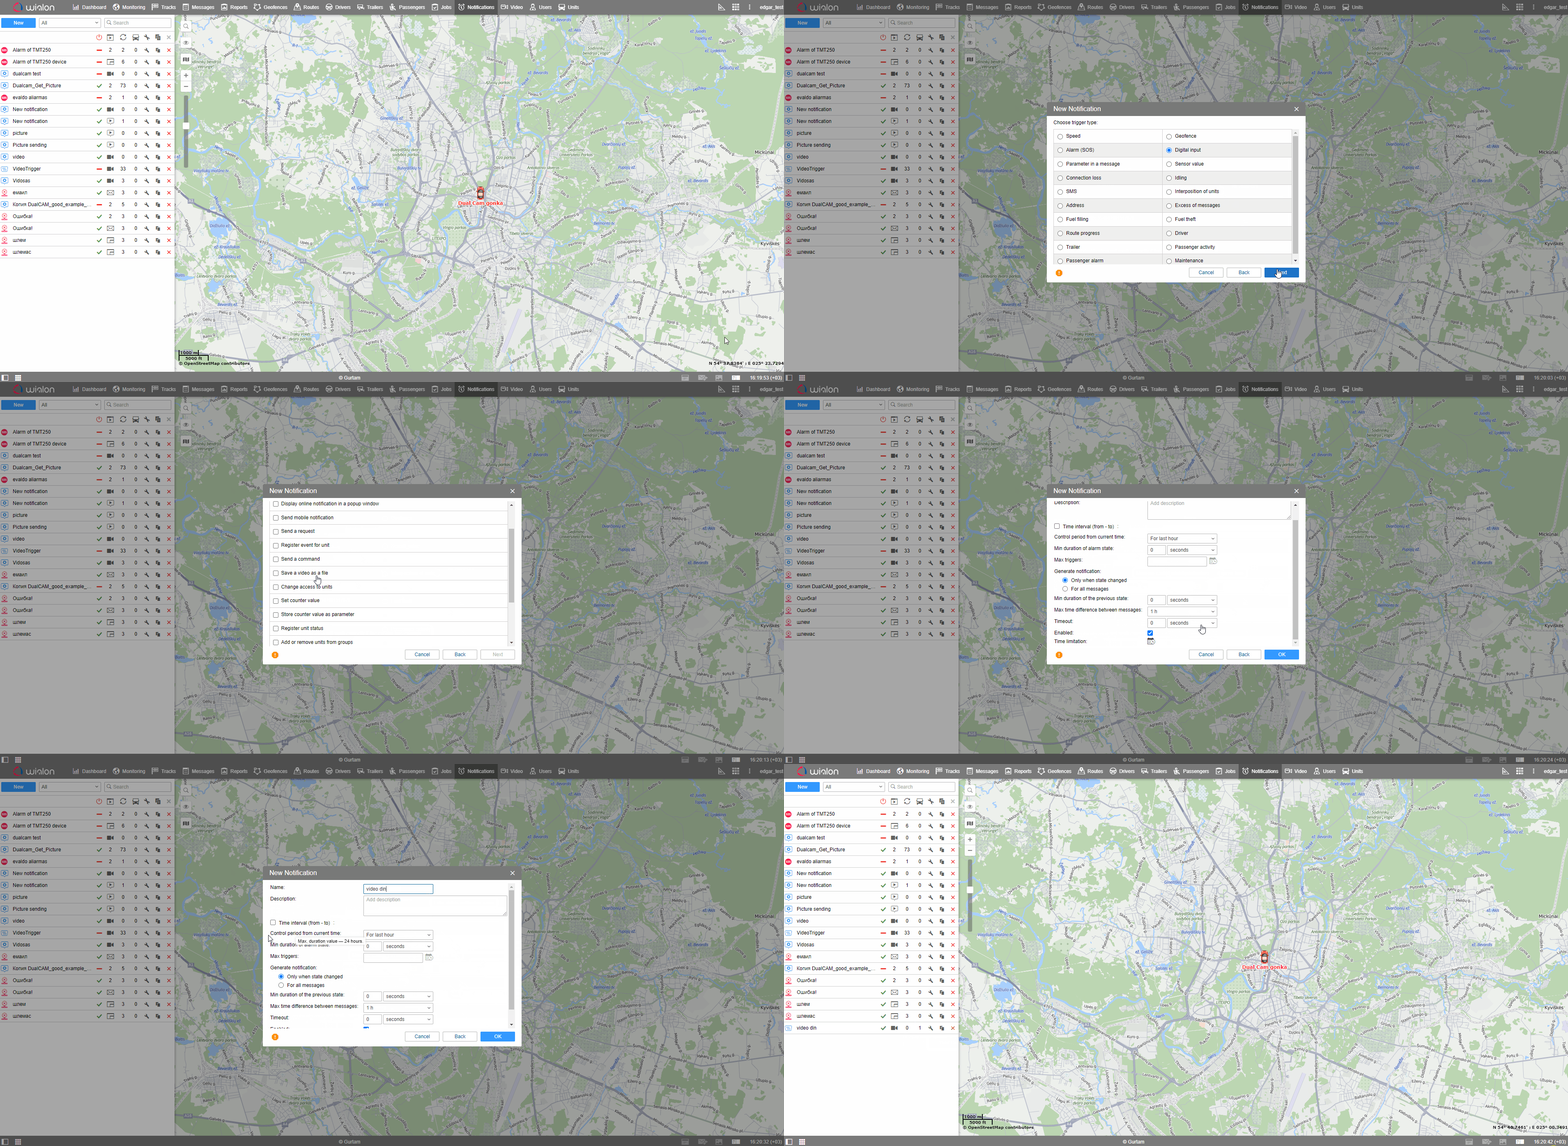
If you need to set a video request from using trigger, it should be done from Wialon side.
Go to "Notification" tab, select "New", select "Device", and here choose required triggers.
In GIF below, you can see an example of the trigger set on Digital Input. After configuring the command and selecting "ok", command will appear and if Digital Input will be triggered you will receive video.

