FMB630 Camera: Difference between revisions
Added MVC300 CAMERA solution |
No edit summary |
||
| Line 1: | Line 1: | ||
[[Category:FMB630 | [[Category:FMB630 Configuration]] | ||
==Introduction to MVC300 CAMERA== | ==Introduction to MVC300 CAMERA== | ||
Latest revision as of 07:43, 17 October 2019
Main Page > EOL Products > FMB630 > FMB630 Configuration > FMB630 CameraIntroduction to MVC300 CAMERA

This chapter contains information about FMB630 device and MVC300 camera
interconnection, integration and use. Before using this solution, you should have some basic
understanding of the following:
• FMB630 operational principals;
• MVC300 operational principals;
Startup and Configuration
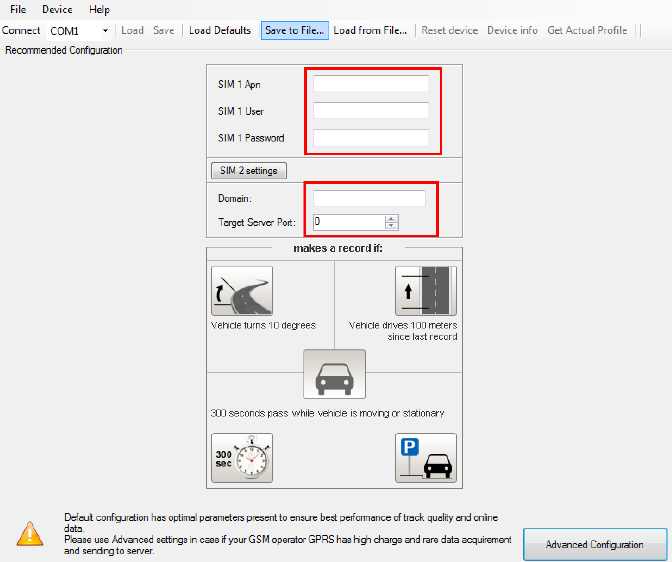
To get FMB630 ready for downloading pictures from MVC300 camera, you need to use base fw 00.01.09 or newer. In configuration, you must set server IP, port and APN of SIM card.

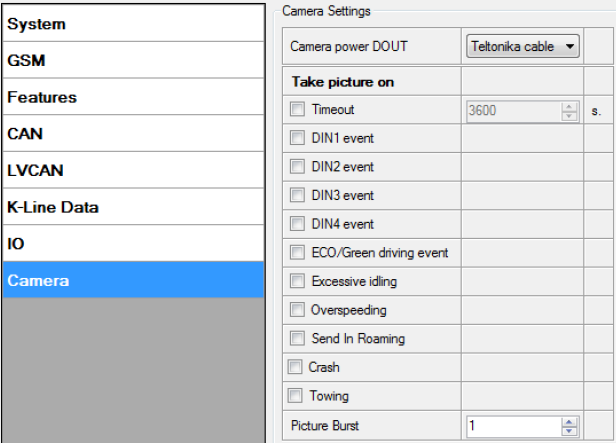
To set up picture creation configuration, select Advanced Configuration, which is in lower right corner of configuration. Select Camera page.

Camera parameters in FMB630
- Camera power DOUT – function which is used to enable Camera functionality and select defined DOUT for restarting physically MVC300 camera.
- Timeout parameter – parameter enables periodical photo sending. Default parameter 3600 seconds.
- DIN events – picture will be made, when selected DIN event will occur.
- Eco/Green driving events – picture will be created, when one of eco/green driving event occurred (harsh acceleration, harsh cornering or harsh braking)
- Excessive idling – picture will be made, when excessive ilding event will be occured (activated) and when event will be deactivated.
- Overspeeding – picture will be made, when overspeeding event will be activated (entering) and when event will be deactivated (exiting)
- Send in Roaming – When vehicle will enter in roaming or GSM operator will change toraoming picture will me made.
- Crash– picture will be made, when Crash event will occur.
- Towing– picture will be made, when Towing event will occur.
- Picture burst – parameter defines how much pictures will be made after configured picture event occurs. Between pictures will be 3 sec time gap.
Camera parameters in MVC300
To prepare MVC300 connection with FMB630, following steps must be done:
MVC300 must have firmware version - MVC330_WebUI_FW_MVC330_F_00.01.599 or newer.
Main thing is, that firmware must be with F marking, which means, FM device support. To check
what firmware version your MVC300 have, you need to go - http://192.168.1.10, it is camera‘s
WEB UI.
In WEB UI select – Maintenance page, there you will find box of firmware version. If your
firmware is not with F marking, you must update firmware. If you don’t have compatible
firmware, please contact our Teltonika sales manager.

After selecting firmware, press upgrade button.

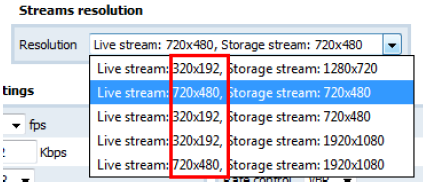
After successful update, you will be redirected to main WEB UI window, if some error occurs, please clear your browser cache or open browser in new incognito window. In WEB UI of MVC300 camera you can select resolution of picture which will be made when used in FMB630 and MVC300 solution. In WEB UI select page – Video settings, in streams resolution, you can select between 320x190 and 720x480 resolution.

After successfully installing right firmware version and selecting resolution – MVC300 is ready to use with FMB630 device
FMB630 and MVC300 installation
To prepare solution you will need:
• FMB630 with 00.01.09 FW or newer version;
• MVC300 camera with original power cable or special cable which can be ordered separately, for more information please contact Teltonika sales manager. Special cable has a possibility to restart MVC300 camera and make solution more stable;
• Standard mini USB cable and USB plug to mini USB cable.
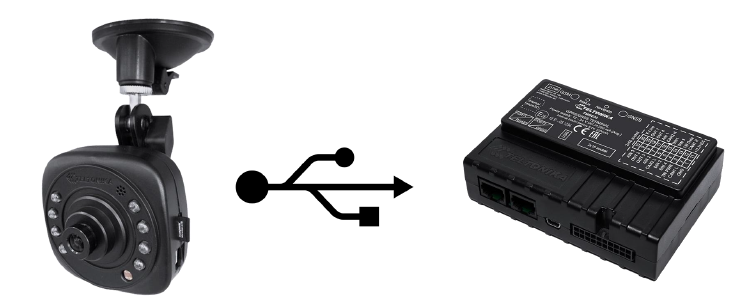
Installation is very simple, connect power wires of FMB630, connect MVC300 to power plug and connect camera with FMB630 over two USB cables. After connection is done, solution is ready to use.
