Creating self-signed CA certificates and keys using OpenSSL
Instructions
To create CA certificates and keys please follow the steps below.
1. Before creating the Certificate and Keys you need to specify the detailed information of your server domain, in our case, we will need your flespi server details which will be available in the third step of this guide.
2. When creating keys, you shouldn’t use encryption (-ds3 switch) for the server certificate because this creates a password-protected key that the broker or server can’t decode.
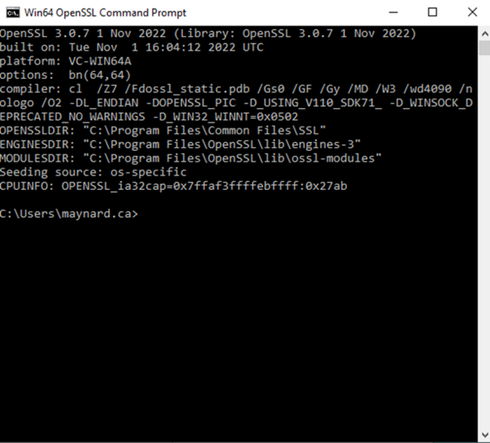
3. Start the OpenSSL Software. Search the OpenSSL from the Windows starts button.
4. OpenSSL Command Prompt will open it includes the software built, directory, and other information.
5. Generating CA key pair.
Command: openssl genrsa -des3 -out ca.key 2048
Note: You can create a password for the CA Key Pair
6. Generating certificate for the CA using the CA key pair we created.
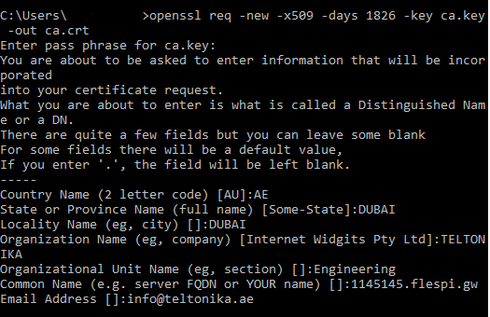
Command:  openssl req -new -x509 -days 1826 -key ca.key -out ca.crt
Note: CA Certificate is valid for 1826 days or 5 years you can change this according to your requirement. It will ask you to enter the passphrase you created for the CA key.
7. Generating a server key pair that will be used by the broker (server)
Command: openssl genrsa -out server.key 2048
8. Generating a certificate request.
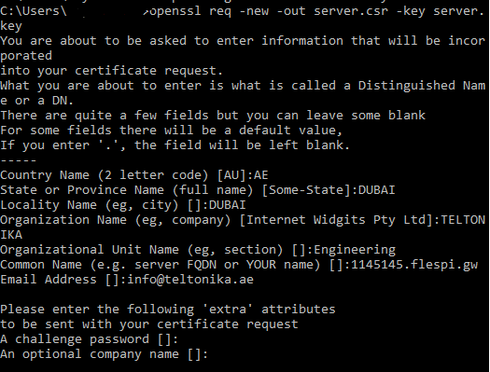
Command: openssl req -new -out server.csr -key server.key
Note: When you fill out the certificate request the common name is the most critical usually it is the domain name of your broker (server). You can use a full domain name or the IP address of your server. We will not send this information to CA because it is a self-signed certificate, we are the CA.
9. Generating server.crt file.
Command: openssl x509 -req -in server.csr -CA ca.crt -CAkey ca.key -CAcreateserial -out server.crt. -days 360
Note: We will use the CA key to verify and sign the certificate.
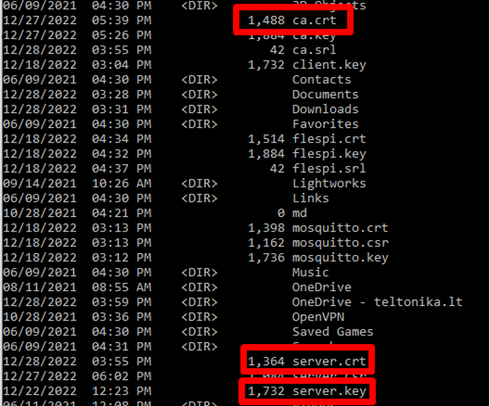
10. If all the steps are completed correctly you can check these 3 files from the directory ca.crt, server.crt, and server.key.
Command: dir
Note: To check the files go to this directory C:\Users\<username>.


