FMB120 First Start
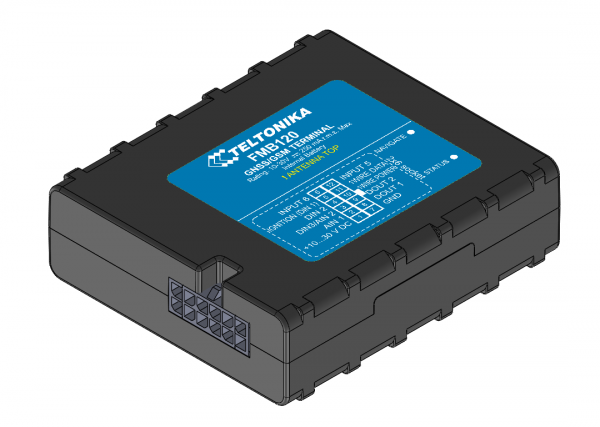
FMB120 GNSS/GSM/Bluetooth tracker with internal GNSS/GSM antennas and internal battery
Quick Start Guide
How to insert SD card into FMB120
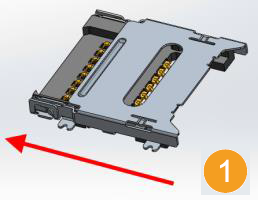
1. Push microSD card lock case.
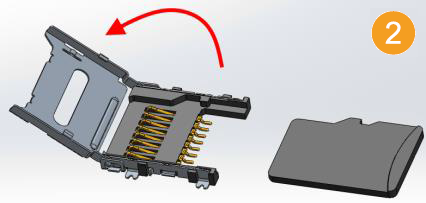
2. Open microSD card locker.
3. Correctly insert microSD card into slot.
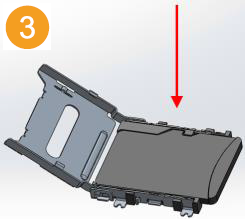
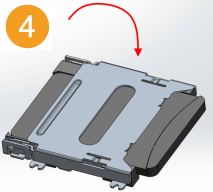
4. Close microSD card locker.
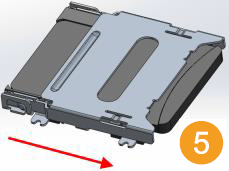
5. Push microSD card lock case to locked position.
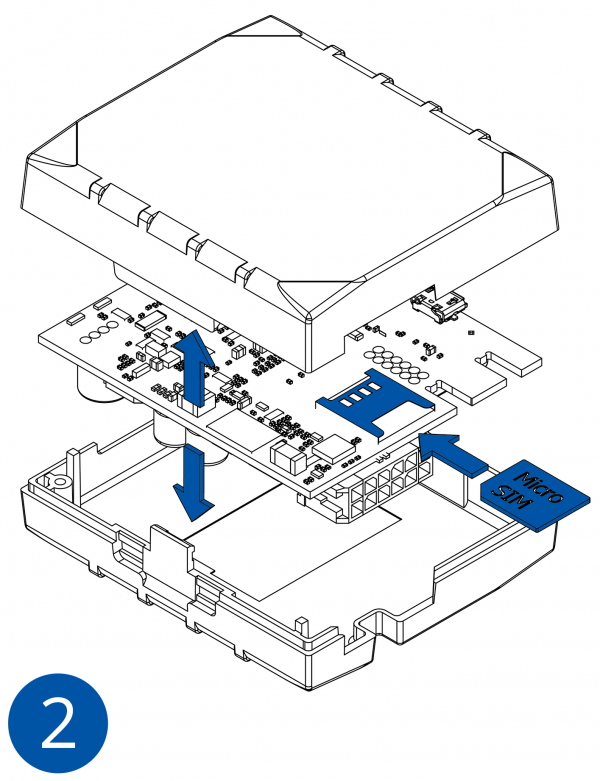
How to insert micro SIM card into FMB120
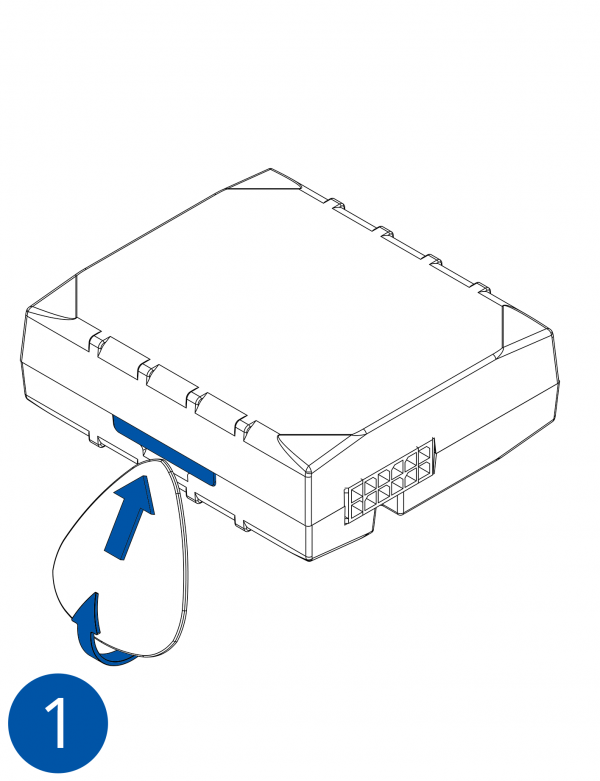
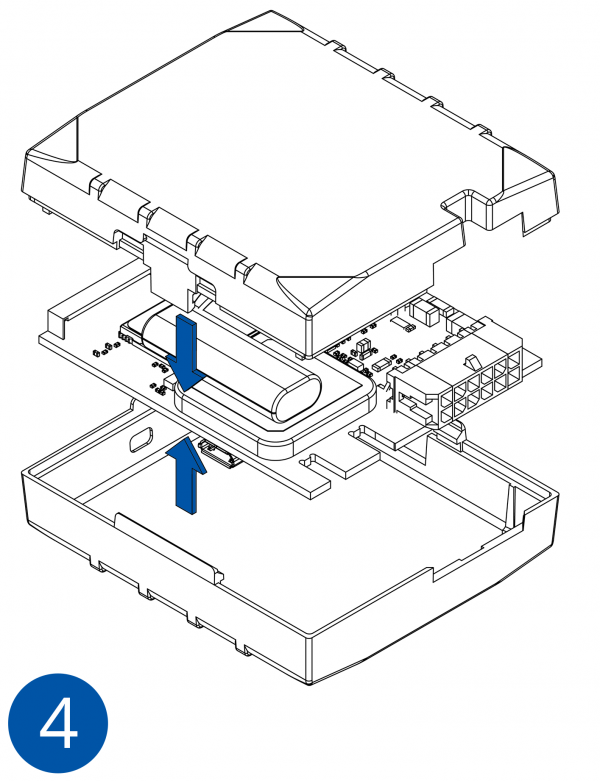
1. Remove FMB120 cover.
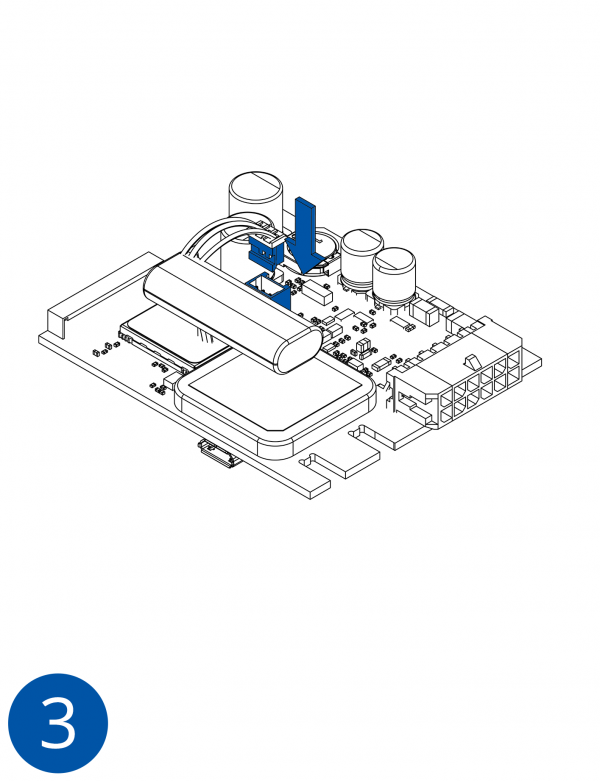
2. Insert SIM card as shown. SIM slot 1 is closer to PCB, SIM slot 2 is the upper one.
3. Attach cover.
4. Device is ready to be connected.
2x6 socket pinout
| Pin number | Pin name | Description | |
|---|---|---|---|
| 1 | VCC (10-30)V DC (+) | Power supply (+10-30 V DC). | |
| 2 | AIN 1 | Analog input, channel 1. Input range: 0-30 V DC. | |
| 3 | AIN 2 / DIN 3 | Analog input, channel 2. Input range: 0-30 V DC / Digital input, channel 3. | |
| 4 | DIN 2 | Digital input, channel 2. | |
| 5 | DIN 1 | Digital input, channel 1. | |
| 6 | INPUT 6 | TX EXT (LVCAN – TX). | |
| 7 | GND (-) | Ground. | |
| 8 | OUT1 | Digital output, channel 1. Open collector output. Max. 3,3 A DC. | |
| 9 | OUT 2 | Digital output, channel 2. Open collector output. Max. 3,3 A DC. | |
| 10 | 1WIRE POWER | +3,8 V output for 1–Wire devices. | |
| 11 | 1WIRE DATA | Data for 1–Wire devices. | |
| 12 | INPUT 5 | RX EXT (LVCAN - RX). |
How to install FMB120 drivers (Windows)
1. Please download COM port drivers from Teltonika website: https://teltonika.lt/?media_dl=5543.
2. Extract and run TeltonikaCOMDriver.exe. This driver is used to detect FMB120 device when it is connected to the computer.
3. Click Next in driver installation window.
4. In the following window click Install button.
5. Setup will continue installing the driver and afterwards, the confirmation window will appear. Click Finish to complete the setup. You are now ready to use the device on your computer.
Configuration (Windows)
.NET requirements
| Operating system | MS .NET Framework version | Version | Links |
|---|---|---|---|
| Windows XP with SP3 or later | MS .NET Framework 4 with KB2468871-v2 update | 32 and 64 bit | https://www.microsoft.com/en-US/Download/confirmation.aspx?id=17718 |
| 32 bit (x86) , 64 bit (x64 or IA64) | https://www.microsoft.com/en-us/download/details.aspx?id=3556
http://avl1.teltonika.lt/downloads/software/Framework/.NET%20Framework%204%20update%20KB2468871-v2/ | ||
| Windows Vista Windows 7 Windows 8.1 Windows 10 |
MS .NET Framework 4.6.2 | 32 and 64 bit | https://www.microsoft.com/en-us/download/confirmation.aspx?id=53344 |
At first FMB120 device will have default factory settings set. These settings should be changed according to the user's needs.
Device can be configured to acquire and send data to server, in this case the GSM settings shall be set in regards with GSM operator's information. If device GSM is unavailable, the device will not be able to send the data and FMB120 will start storing records to flash memory. It is possible to store up to 192000 data records with 128 MB SD memory card (when 100 MB are used to store records). It will send data over GPRS when it is available. Note that FMB120 might reach its full memory capacity. If such case happens, the device will start deleting the oldest records in order to save new ones.
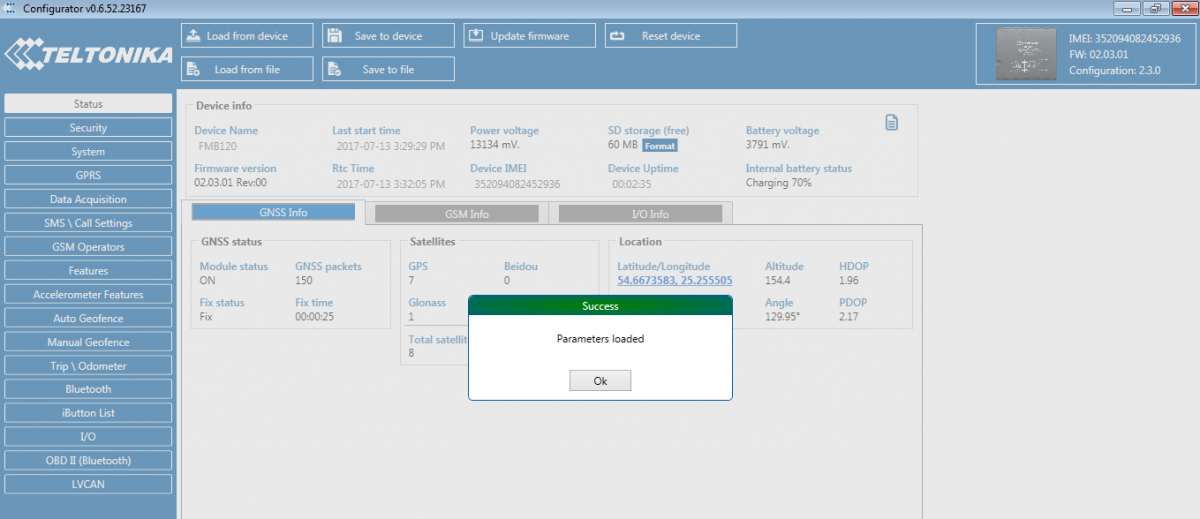
FMB120 configuration is performed via FMB120 Configurator program. Contact sales manager to get the latest FMB120 Configurator version or download from https://teltonika.lt/?media_dl=7290. FMB120 configurator operates on Microsoft Windows OS and uses prerequisite MS .NET Framework.
Module configuration can be performed over USB cable or using a Bluetooth port. Configuration process begins by starting FMB120 Configurator software and then connecting to FMB120 device via Connect button located in Online menu part. FMB120 has one user editable profile, which can be loaded from device, and saved. After any modification of configuration the changes have to be saved to FMB120 device using Save to device button.
Main buttons offer following functionality:
- Load from device – loads configuration from device.
- Save to device – saves configuration to device.
- Load from file – loads configuration from file.
- Save to file – saves configuration to file.
- Update firmware – updates firmware on device.
- Reset device – sets device configuration to default.
More details on using the Configurator can be found here.
Mounting recommendations
1. Connecting wires
- Wires should be connected while module is not plugged in.
- Wires should be fastened to the other wires or non-moving parts. Try to avoid heat emitting and moving objects near the wires.
- The connections should not have leftover exposed wires. If factory isolation was removed while connecting the wires, it should be reapplied.
- If the wires are placed in the exterior or in places where they can be damaged or exposed to heat, humidity, dirt, etc., additional isolation should be applied.
- Wires cannot be connected to the board computers or control units.
2. Connecting power source.
- Be sure that after the car computer falls asleep, power is still available on the chosen wire. Depending on the car model, this may happen in 5 to 30 minutes period.
- When the module is connected, measure voltage again to make sure it did not decrease.
- It is recommended to connect to the main power cable in the fuse box.
- Use 3 A, 125 V external fuse.
3. Connecting ignition wire.
- Be sure to check if it is a real ignition wire i.e. power does not disappear while starting the engine.
- Check if this is not an ACC wire (when key is in the first position, most of the vehicle electronics are available).
- Check if power is still available when you turn off any of vehicles devices.
- Ignition is connected to the ignition relay output. As alternative, any other relay, which has power output when ignition is on, may be chosen.
4. Connecting ground wire.
- Ground wire is connected to the vehicle frame or metal parts that are fixed to the frame.
- If the wire is fixed with the bolt, the loop must be connected to the end of the wire.
- For better contact scrub paint from the spot where loop is connected.
Safety information
This message contains information on how to operate FMB120 safely. By following these requirements and recommendations, you will avoid dangerous situations. You must read these instructions carefully and follow them strictly before operating the device!
The device uses SELV limited power source. The nominal voltage is +12 V DC. The allowed range of voltage is +10-30 V DC.
To avoid mechanical damage, it is advised to transport the device in an impact-proof package. Before usage, the device should be placed so that its LED indicators are visible, which show the status of device operation.
When connecting the 2x6 connector wires to the vehicle, the appropriate jumpers of the vehicle power supply should be disconnected.
Before unmounting the device from the vehicle, the 2x6 connector must be disconnected.
The device is designed to be mounted in a zone of limited access, which is inaccessible to the operator. All related devices must meet the requirements of EN 60950-1 standard.
The device FMB120 is not designed as a navigational device for boats.
Precautions
https://teltonika.lt/product/fmb120-internal-gnss-antenna-battery/

