FMM230 GPRS settings
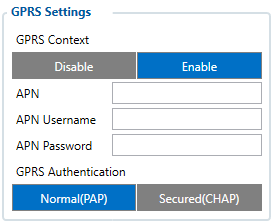
GPRS Settings
These settings define the main parameters for FMM230.
GPRS Context:
- Device ability to enable or disable GPRS connection.
APN:
- Access point name, a mandatory parameter which is used to connect to the internet (GPRS). Access Point Name is the name of a gateway between a mobile operator and the public internet. It can be obtained from your SIM card provider.
APN Username:
- Access point name username (optional – depending on operator)
APN Password:
- Access point name password (optional – depending on operator).
GPRS Authentication:
- Some operators use a specific type of authentication for GPRS sessions – CHAP or PAP. If any of these is used, APN should be entered as "chap:<APN>" or "pap:<APN>" respectively e.g. if the operator is using APN "internet" with CHAP authentication, it should be entered as "chap: internet". Information about APN and authentication type should be provided by your GSM operator.
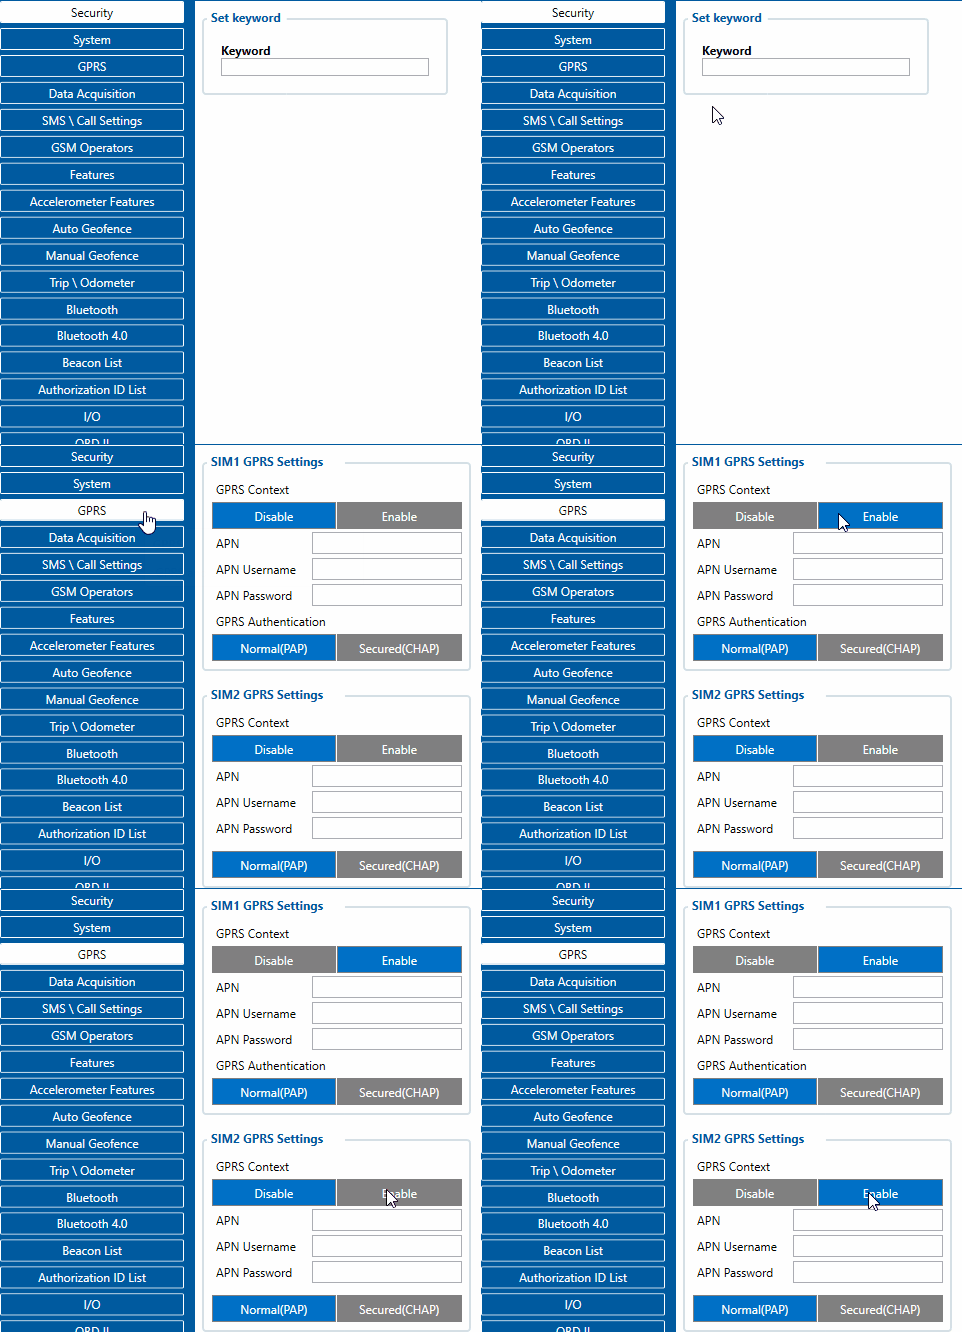
SIM1 and SIM2 GPRS Settings can be configured separately.
Auto APN
Auto APN:
- This feature allows the device to select the correct APN from integrated into the firmware APN database. After the tracker turns ON it will automatically search APN settings depending on the inserted SIM card.
- This feature is used form 03.25.15.Rev.32 and up, explained in more detail in this page.
- This feature can be disabled in the device configuration if the device GPRS settings are configured before installation or during installation of device.
Transfer APN File
APN file Upload / Download:
- Connect to the device using configurator and look for Transfer APN file section. Press the Upload button and locate your APN_list.bin file. (binary APN list can be named differently, make sure to use the correct file).
- This transfer APN File option is valid from 03.25.15.Rev.32 and up.
- The AutoAPN file comes with the device form the factory, but if the GPRS settings are configured before installation or during installation of device - APN file is not required.
First Server Settings
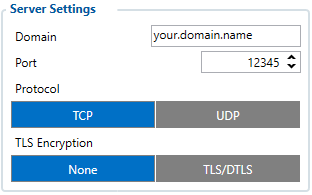
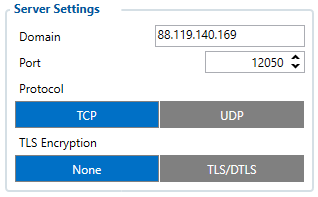
Domain:
- Server or Domain adress, can be written either IP address or Domain.
Port:
- Server Port
Protocol:
- Defines GPRS data transport protocol, used for data transfers – TCP or UDP. From the device side TCP and UDP work almost the same, only difference is that UDP doesn't need additional confirmation from the server side, that the data packet was received. TCP has that, and uses more network data for the confirmation. The desired data transfer protocol can be selected through the configurator.
TLS encryption:
- An additional option is the use of TLS encryption for sending records to the main server and backup server.
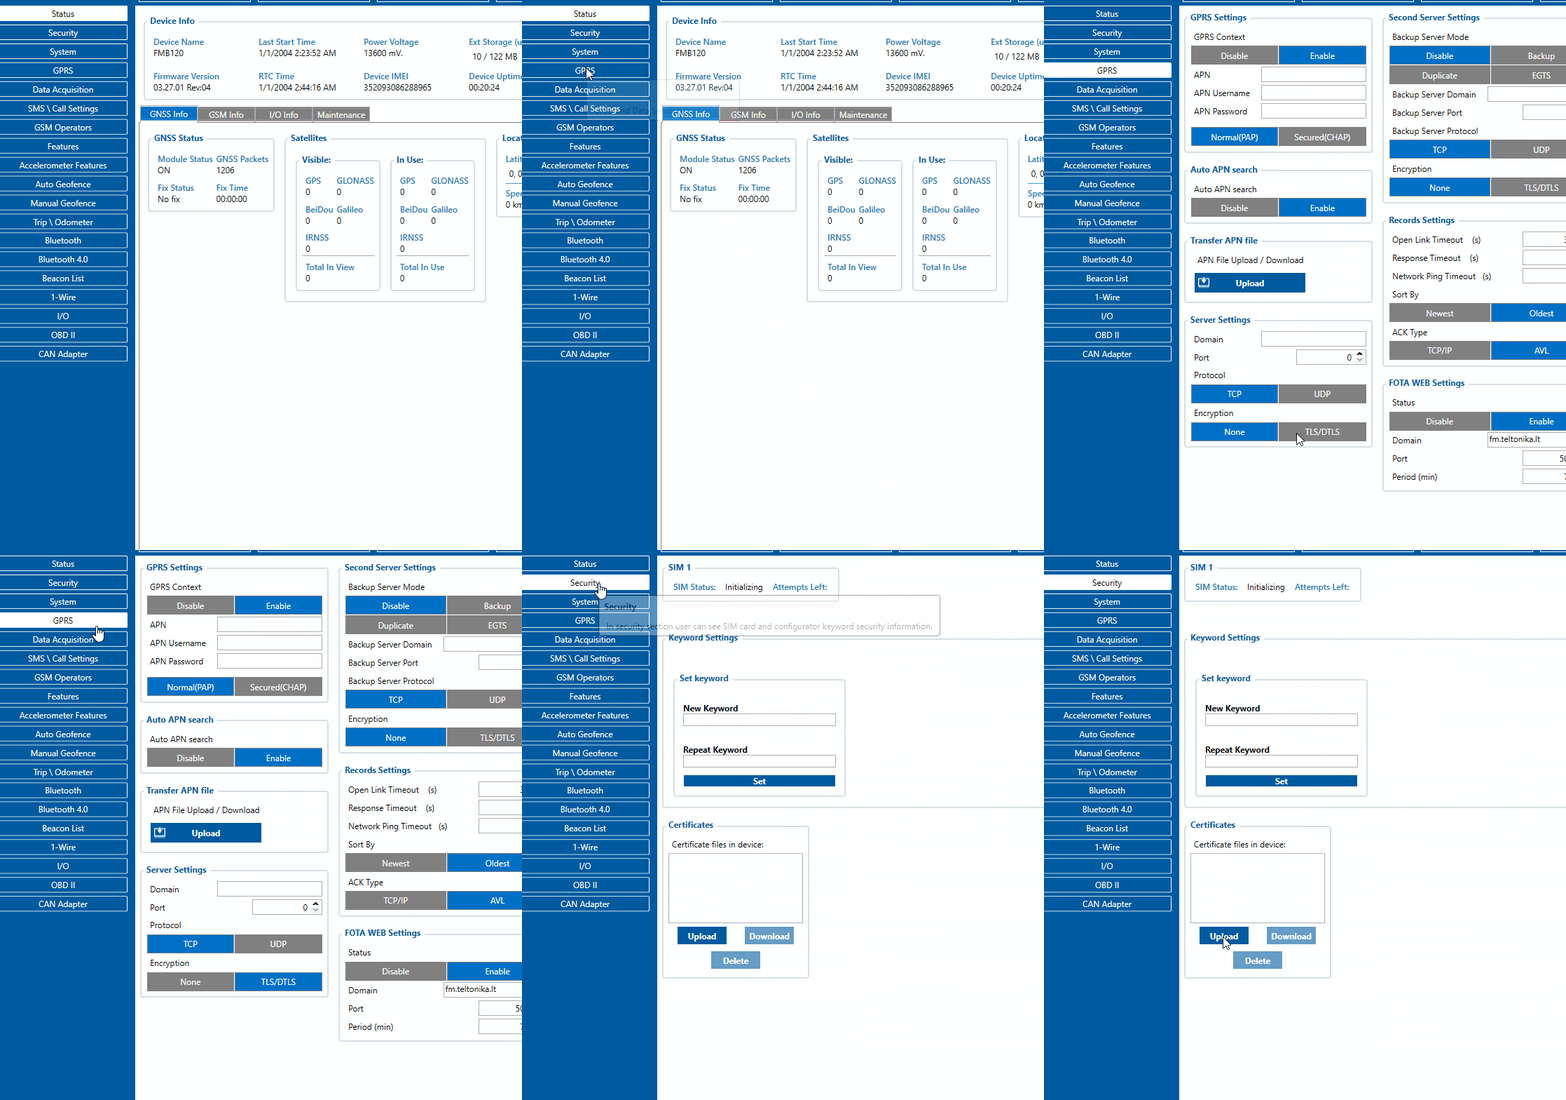
All the information in photos must not be used, just for demonstrational use only.
Second Server Settings
Second server has 4 different modes:
Disable:
- Second server is not used.
Backup:
- Records are sent to second server if main server is not available (for example: device fails to open link with main server) or when main server response timeout has been reached 5 times in a row.
Duplicate:
- Records are sent to both servers (main and second), records are deleted from SD-card (or Flash storage) only if both servers confirmed that the records were received from device.
EGTS:
- Records are sent to both servers (main and second), records are sent to the backup server using the EGTS protocol. RNIS system is supported with EGTS protocol. (Relevant just in CIS Regions)
Backup server Domain:
- Server or Domain adress, can be written either IP address or Domain.
Back up server Port:
- Server Port
Backup server Protocol:
- Defines GPRS data transport protocol, used for data transfers – TCP or UDP. From the device side TCP and UDP both protocols require a confirmation from the server to the device sent packets. However, data consumption will be less using UDP due to differences in the Network layer of TCP/UDP and also packet structure of Codec8 using UDP protocol. More information -here.
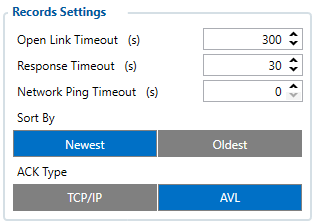
Records Settings
Open Link Timeout:
- The parameter used to define a timeout between the fleet management device and the server. If the device has sent all records, device holds the link for duration of the confugured timeout. “Open link timeout” will refresh after device sends a new record. If there is a need to keep a constant link with a server, increasing the value of the parameter is needed.
Server Response Timeout:
- Is used to set a period of time waiting for the response from the server-side. If there is no response from the server during the timeout, the device will close the link and according to device configuration resend the same packet.
NOTE! If Data protocols are not implemented correctly, device will not send data correctly.
Network Ping Timeout:
- Enables network ping after timeout to prevent link close by operator. For example, if the operator closes the active link after 15 minutes when no data is sent, you can set the "network ping" timeout to 10 minutes then the device sends a 0xFF byte to server to keep the link open. This functionality works only for Record and Backup Servers. Network Ping Timeout should be always lower than Open Link Timeout.
Sort by:
- Can be set either Newest or Oldest. For example if the Oldest is marked the device first will send the Oldest information, if Newest then Device will send the newest information. If the device had no connection (GSM or GPRS) due to bad coverage or being in an area with no signal. Device continues to save records into internal memory, once GSM and GPRS are recovered device will start sending saved data to server. In this example, if Oldest is configured - until newest data is seen on the server all of the oldest records have to be sent first. If Newest is configured - previous data and track won't be seen until newest data is sent first. If high priority on I/O parameters or Features are configured device will send the generated records with High Priority first.
ACK Type:
- Determines what method the device uses to receive confirmation from the server TCP/IP or AVL. TCP/IP means that the confirmation will be included in the TCP/IP layer and no additional message will be needed. AVL means that the device will expect an additional AVL message from the server - according to the Data sending protocols described here.
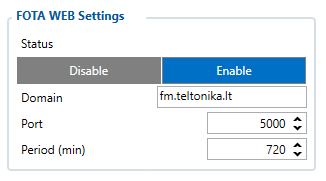
FOTA WEB Settings
These settings are used to configure FOTA WEB server connection parameters.
Status:
- Enables or disables FOTA WEB functionality. If FOTA WEB Status is set to "Disable" - the configuration will not be allowed to be uploaded into FOTA WEB.
Domain:
- The address of the FOTA website is entered to Domain field.
Port:
- The Port of the FOTA website is entered to Port field.
Period:
- Is used to set the timeout of repeat connections to the FOTA WEB server.

From 03.27.02 firmware version, FOTA WEB connection period randomizer is added. The randomizer will choose a +-2.5 period for each connection. For example, then the connection period is set to 30 minutes, device with each connection will choose a new connection (from 27.5 min to 32.5 minutes). This also applies to the "web_connect" SMS/GRRS command. This has been implemented to ensure smoother operation of FOTA WEB services by spreading out large numbers of simultaneous device connections over a longer timeframe.
TLS/DTLS
From 03.27.02 firmware version, TLS/DTLS functionality was implemented for FMB0YX, FMB9X0, FMB96X, FMB1YX, FMU1YX, FMM1YX, FMC1YX, FM30XY, FMB2YX, FMT100 device. Note! Currently only TLS encryption functionality is fully implemented, if needed DTLS encryption is possible to implement.
Supported versions: 1.1/1.2
TLS/DTLS certificate generation
Instructions cover how to generate an encryption certificate and how the device should be configured in order to send encrypted records into the client-server can be downloaded HERE.
Server configuration and encryption certificate implementation is mandatory from the client-server side!
