Getting Started: Difference between revisions
No edit summary |
No edit summary |
||
| Line 126: | Line 126: | ||
<br> | <br> | ||
Next chapter '''[ | Next chapter '''[https://wiki.teltonika-gps.com/view/Dashboard <u>Dashboard</u>]''' | ||
Revision as of 10:40, 7 June 2023
Device requirements
| IMPORTANT!!! | 1. All FMBXXX devices except for FMB64X should have at least 01.03.03.Rev.00 firmware version installed. 2. FMB64X should have at least 00.02.05 version installed. 3. FM36YX devices should have at least 01.12.00.Rev.02 version installed. (FM36YX FotaWeb functionality for firmware update only) |
| Supported Devices | ||||
|---|---|---|---|---|
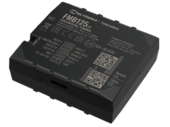
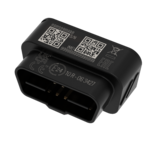
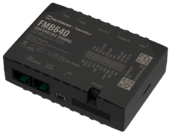
| FMB9YX | FMB96X | FMB1YX | FMB0YX | FMB64X |
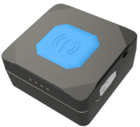
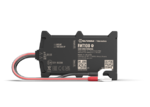
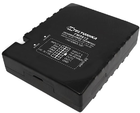
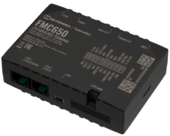
| TMT250 | FMT100 | FM36YX | FMx650 |
Please check Firmware Link to find latest base firmware for your device.
Network requirements
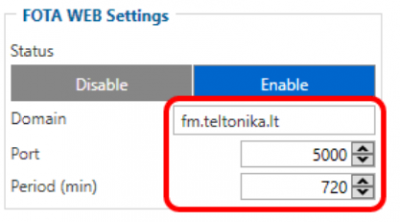
Default FOTA WEB configuration settings
Domain: fm.teltonika.lt
Port: 5000
Period: 720 minutes (every 720 minutes device shall connect to FOTA WEB)
Using VPN SIM cards
If your SIM cards are within Mobile Operator’s VPN (private APN), the following must be ensured and paid special attention.
1. Must ensure that domain http://fota.teltonika.lt can be resolved from within Operator’s network.
2. Following IP and ports (egress) must be allowed by the operator.
- IP: 35.156.7.140
- Ports:
- 2000
- 3000
- 4000
- 5000
- 6000
- 7000
- 2000
When using VPN SIM cards, you should still configure http://fota.teltonika.lt domain in your configurator, not the plain IP address.
How to access FOTA WEB
FOTA WEB is reached using domain address http://fota.teltonika.lt. FOTA WEB uses HTTP ports 80 and 85 for authentication so if your network has HTTP proxy service or is blocking outgoing traffic – make sure that those two ports are added to exceptions in network proxy service and firewall.
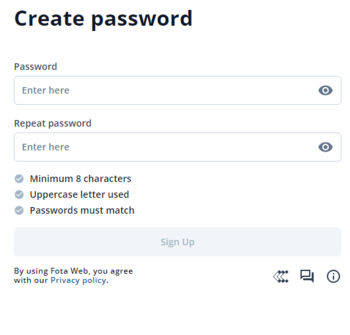
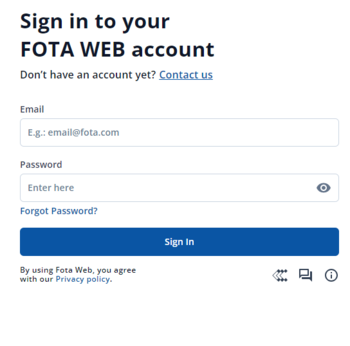
| 1. Invitation for FOTA WEB is being delivered to user e-mail. Press the URL to create a password for your account. | 2. After pressing the URL Link you will be asked to write your password for Your account. | 3. Last step is logging in FOTA WEB with your newly created account by entering e-mail address and password for your account. Email address is the same as where you've received the invitation. |
 |
 |
Select company
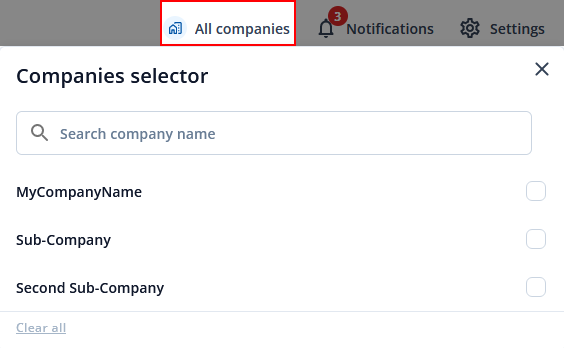
At the top-right corner you can find All Companies button. Pressing it will open a window with a list of all Main and Sub companies. There you can select each company and filter their information such as devices, tasks and files like configuration, firmwares or cerfiticates.
Note: If main company is selected it will only show devices that are assigned to that company and will not include the sub companies. Every company is selected individually.
Notifications
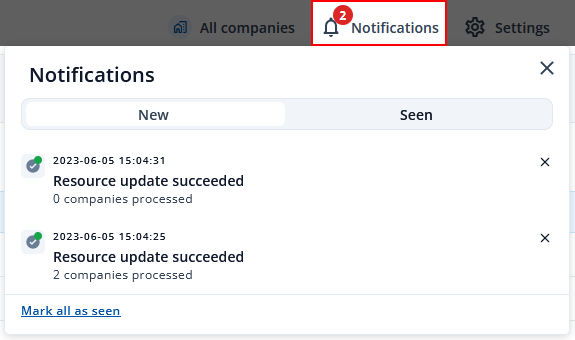
Notifications is located at the top-right corner of the page. Notifications will inform you when certain actions are completed such as devices firmware got updated, configuration got uploaded to or downloaded from the device and also notifies when devices are transferred from one company to another or moved from main company to child company.
Settings
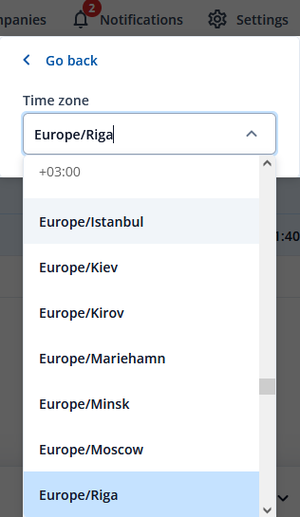
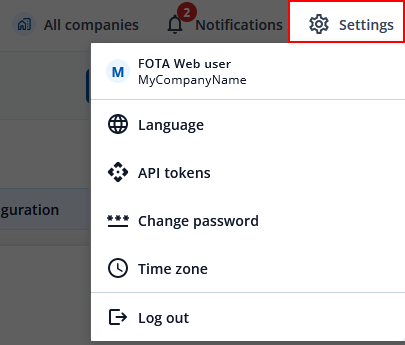
You can find FOTA Web Settings at the top-right of the page, there you are able to change web page language, generate API tokens, change account password and set your own time zone. More details about the functions are explained below.
Language
In the settings tab window you can select your preferred language. Currently there are 6 available languages:
- English
- Lithuanian
- Russian
- Spanish
- Portuguese
- France
API tokens
You can generate Token ID in the API Tokens window by clicking Add token, set a Token name and then click generate. This will generate FOTA Web API Token with which you can use it to integrate FOTA Web functionalities on your existing software system.
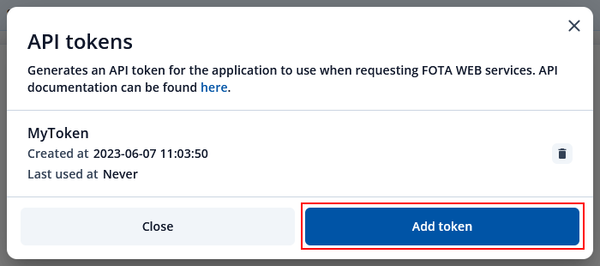
Full FOTA API documentation can be found HERE.
Change password
If current password is too difficult to remember or not difficult enough you can freely change your password by entering your current password and then the password you want it to be changed to.
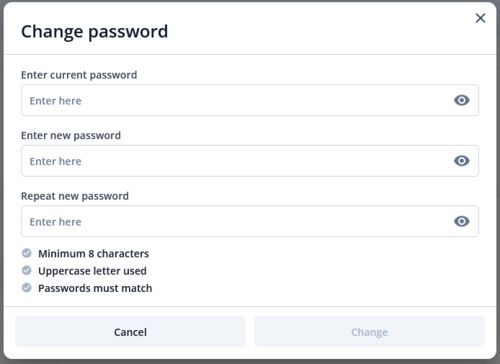
If you do not remember your current password, in FOTA Web Sign Up window you can click forgot password. It will generate a link for resetting password and send it to your E-Mail address and from there you will only have to enter a new password.
Time zone
Time zone functionality lets you freely change how page will display time in different time zones. Changing it will change time information on when device was Seen at, Created at or Updated at.
Next chapter Dashboard


