TFT100 CAN I/O settings
CAN Protocol

|
ATTENTION
CAN interface does not work when device does not have external power available. |
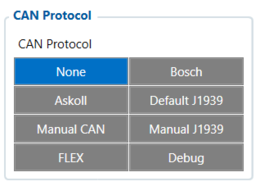
CAN I/O category offers users an ability to select one of CAN protocols to read specific data through TFT100 CAN interface.
TFT100 currently has 6 implemented CAN protocols and DEBUG function:
- Bosch CAN Powertrain
- Askoll
- Default J1939
- Manual CAN
- Manual J1939
- FLEX
- Debug feature
Bosch, Askoll, Default J1939 and FLEX CAN protocols come with specific CAN I/O parameters that can be read, monitored, configured and their values sent to the configured server.
Manual CAN and Manual J1939 protocols do not include dedicated specific I/O parameters however it welcomes user to configure what has to be read from the transport based on their transport CAN communication protocol.
Bosch CAN Powertrain
Bosch CAN Powertrain I/O
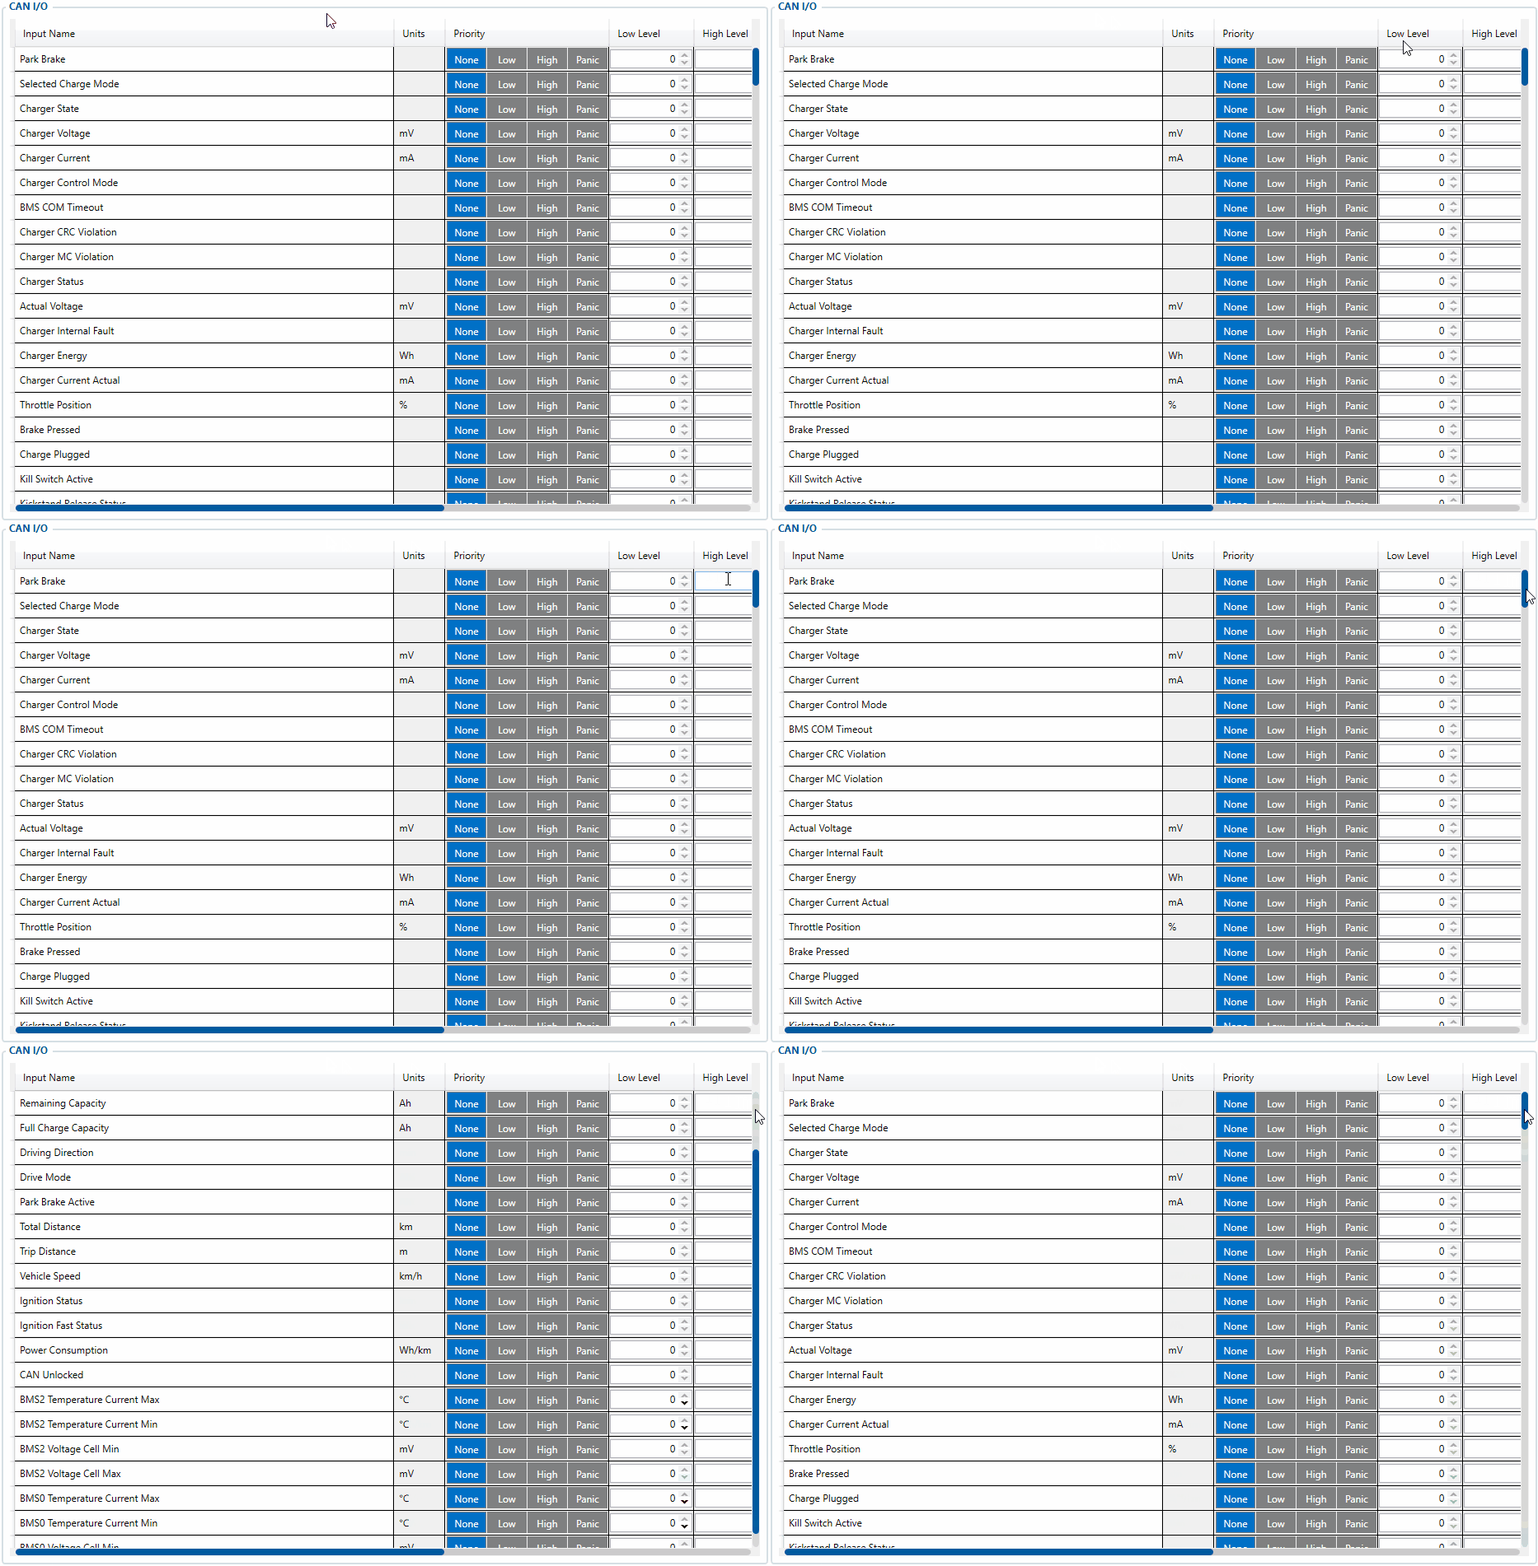
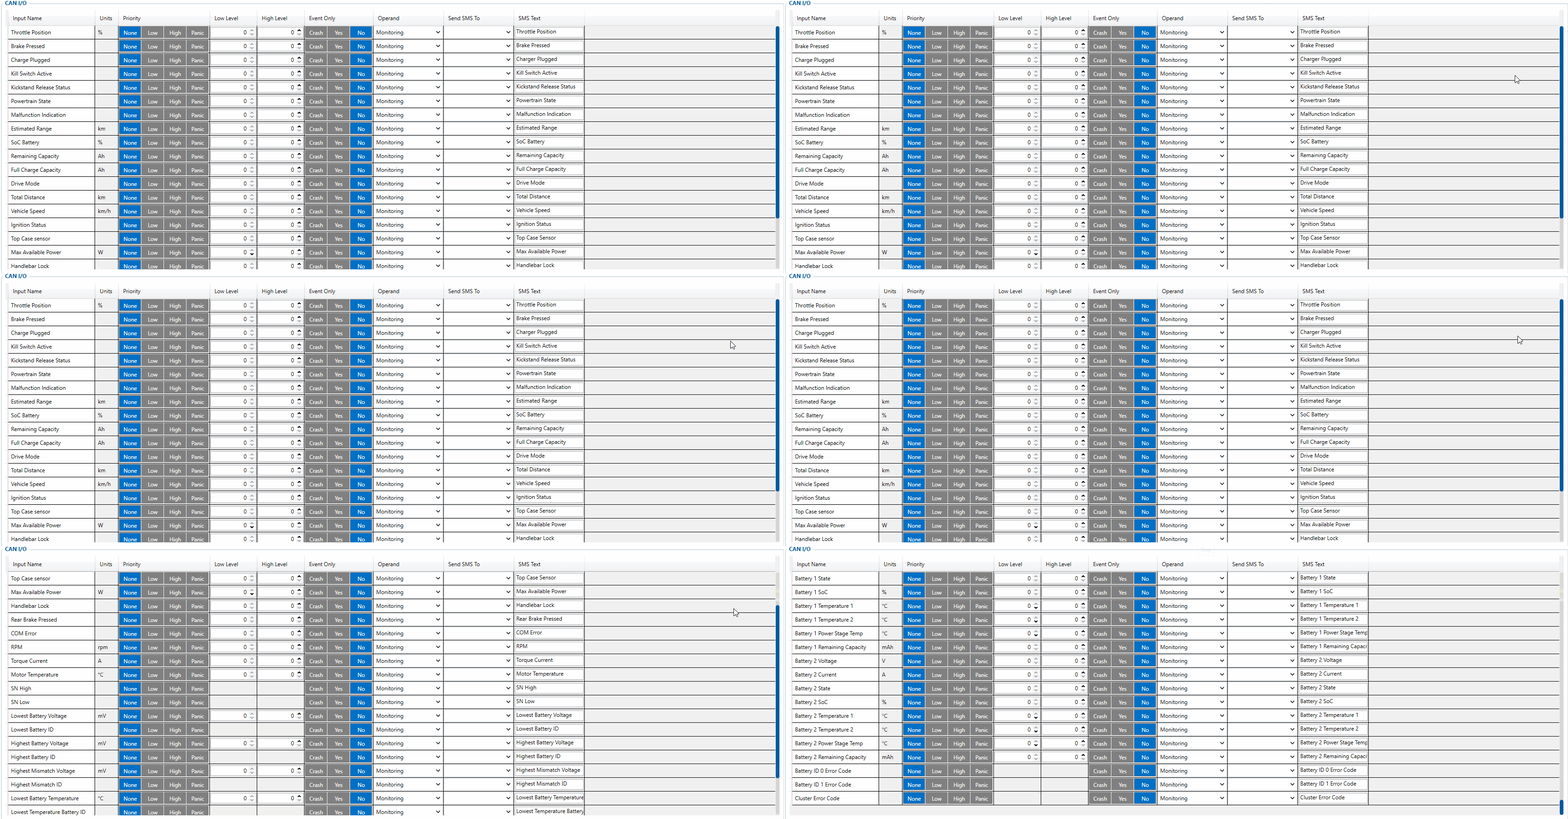
Specific Bosch CAN Powertrain I/O parameters were implemented to our device's firmware that can be read, configured and sent to the server just like regular I/O parameters. The parameters that were added can be seen in the image below.
| NOTE! | The parameters were added upon clients' request. Bosch CAN protocol contains way more parameters that can be added by us if necessary. |
The AVL ID list of Bosch CAN Powertrain parameters can be found in here.SMS/GPRS commands that were developed for Bosch CAN Powertrain protocol can be found in here.
Askoll
Askoll I/O
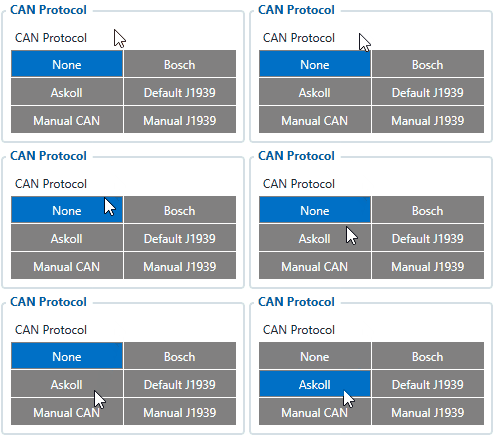
Specific Askoll I/O parameters were implemented to our device's firmware that can be read, configured and sent to the server just like regular I/O parameters. The parameters that were added can be seen in the image below.
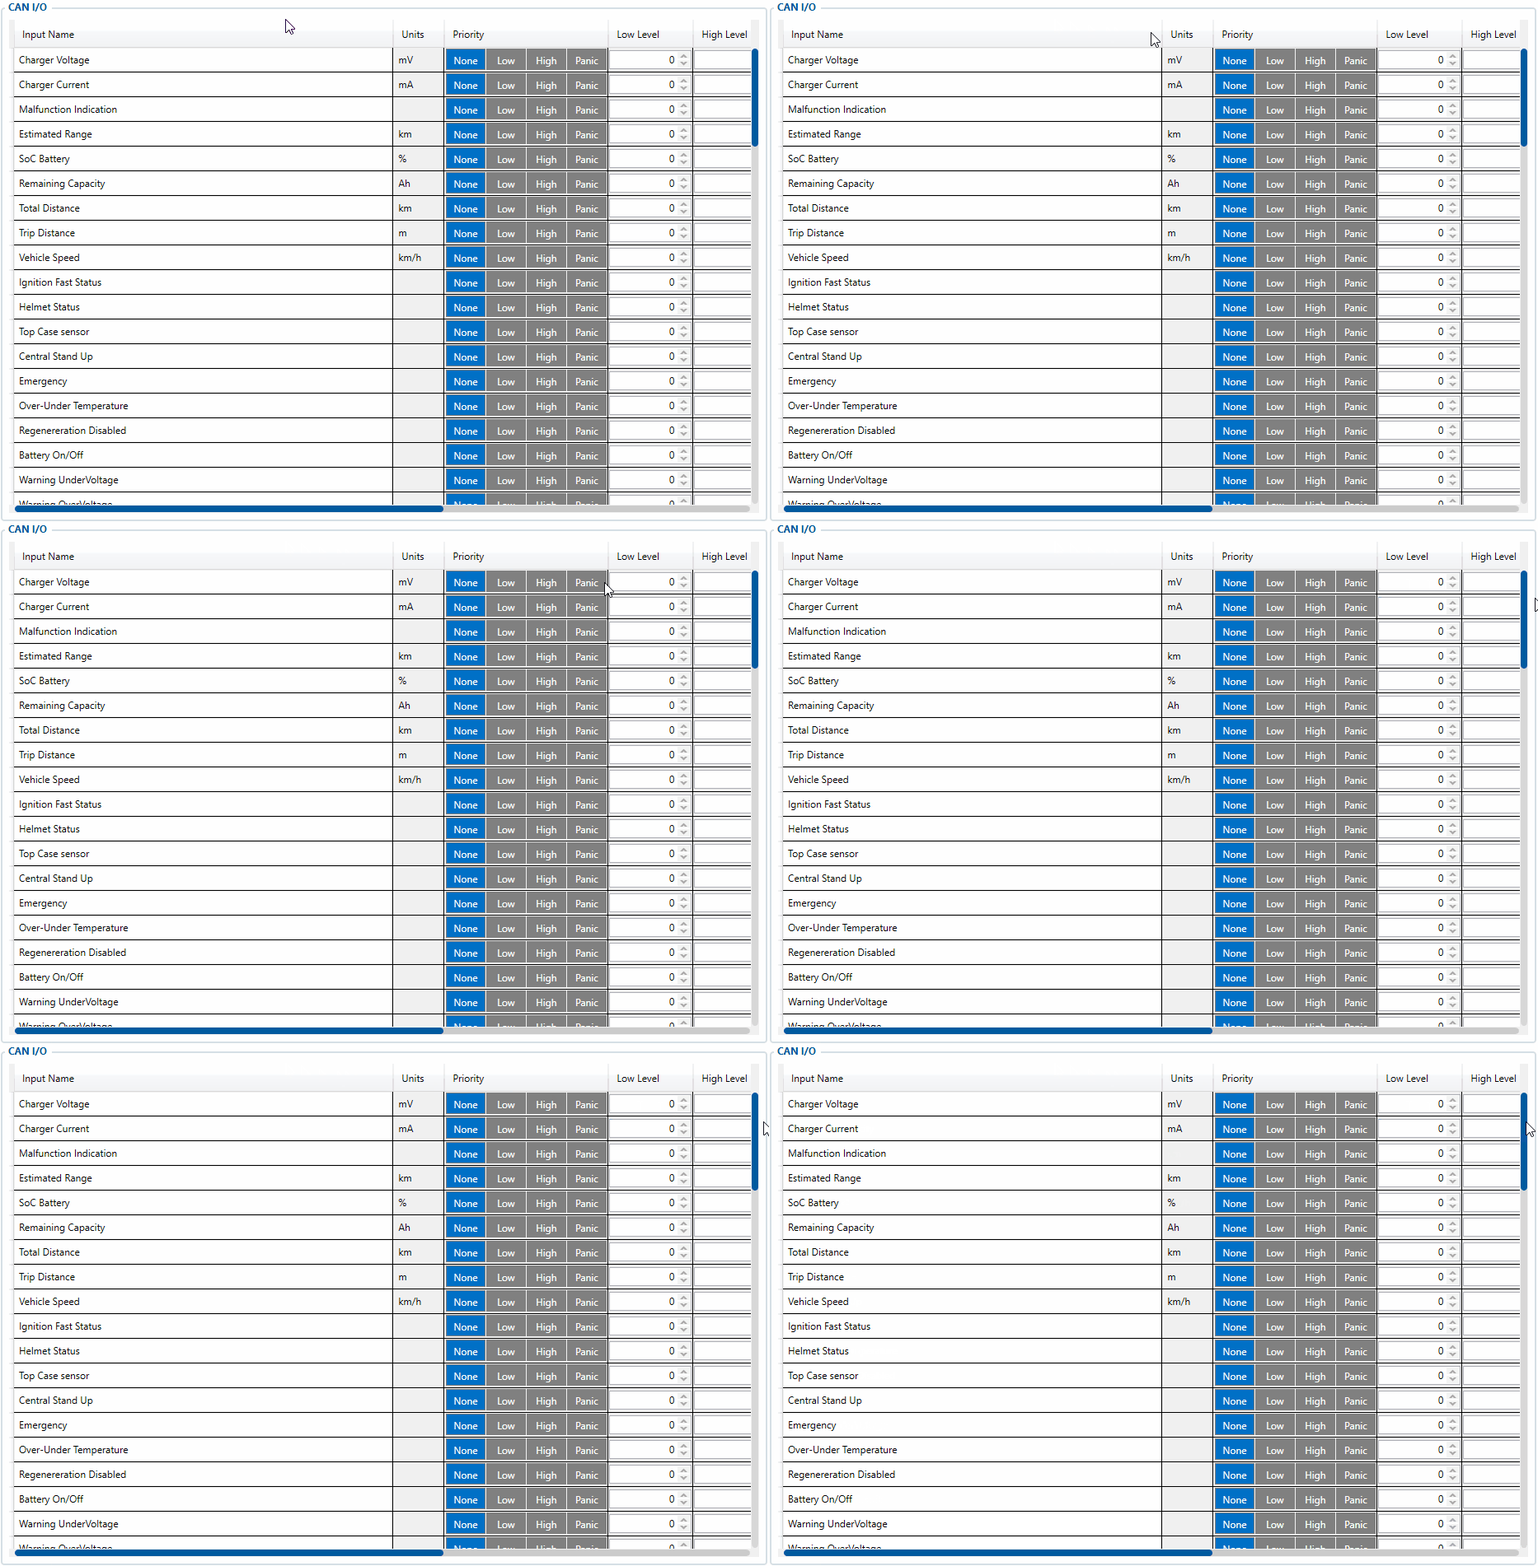
The AVL ID list of Askoll parameters can be found in here.SMS/GPRS commands that were developed for Askoll protocol can be found in here.
Default J1939
Default J1939 I/O
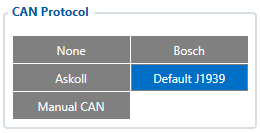
All Default J1939 CAN I/O parameters can be configured like standard I/O parameters. User can set priority, high level, low level parameter limits, eventual record, operand, SMS text and number to which SMS notification would be sent.
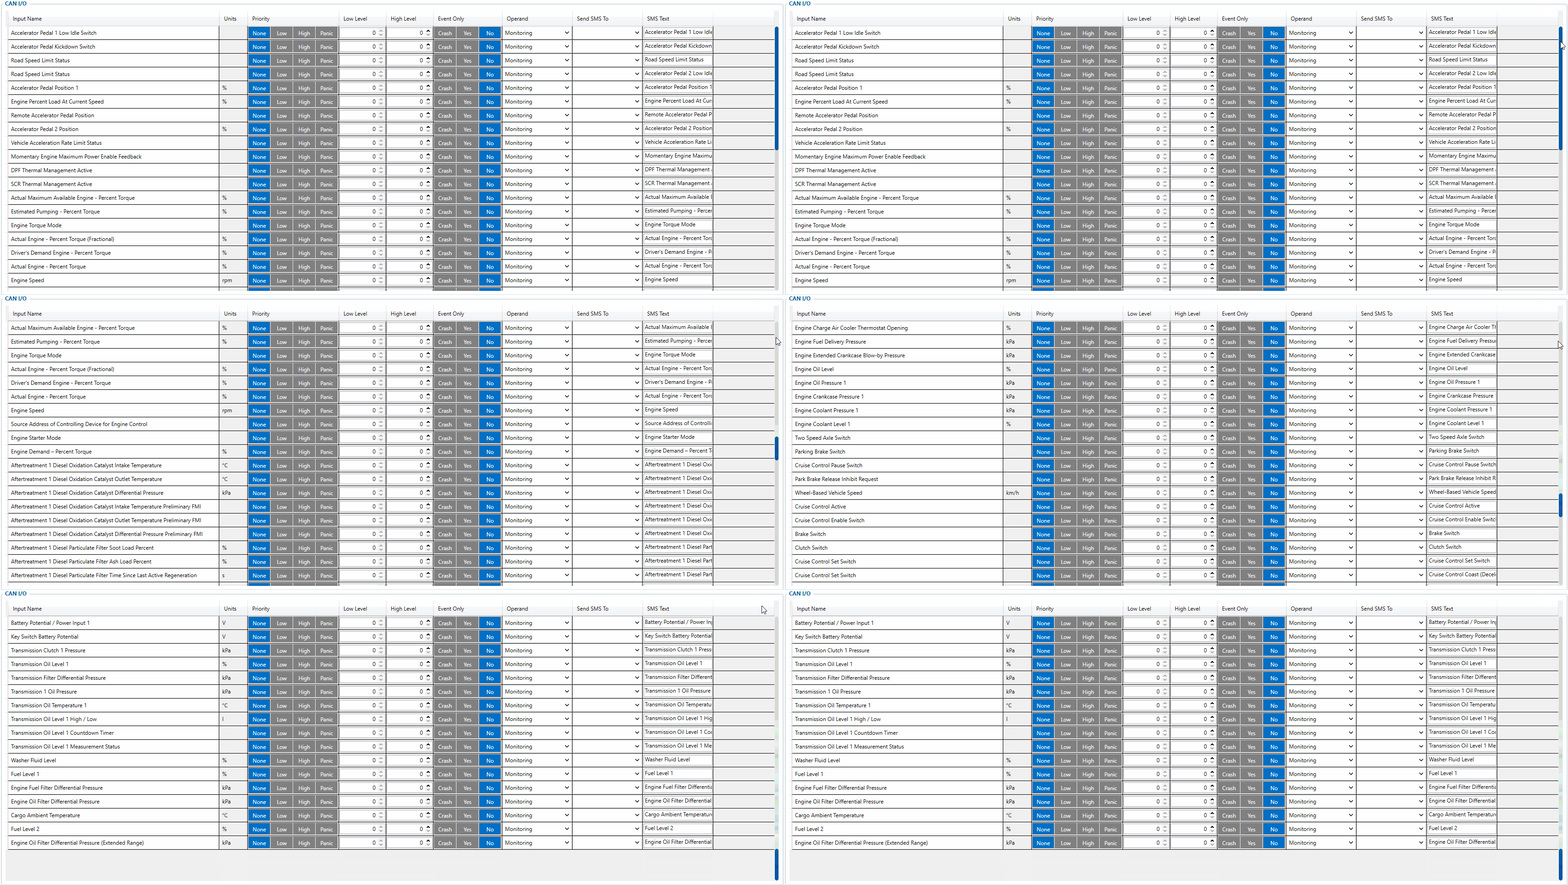
The AVL ID list of Default J1939 parameters can be found in here.
Manual CAN
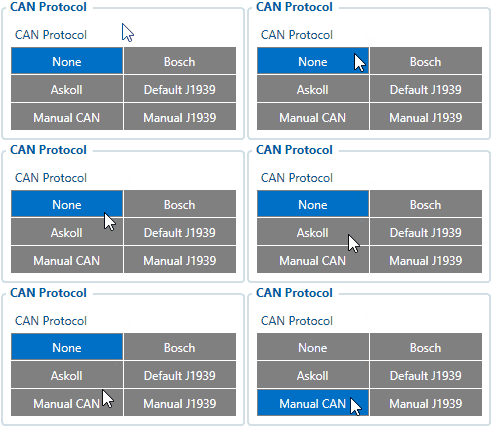
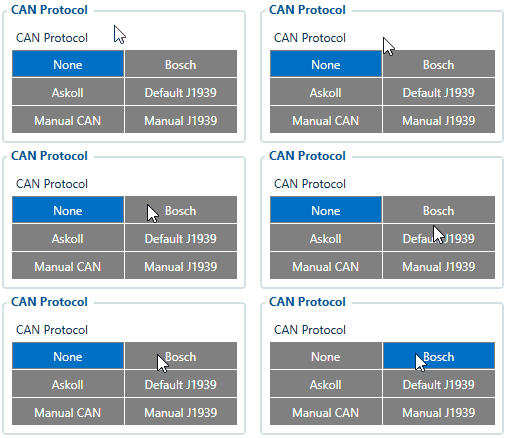
The Manual CAN protocol is enabled by selecting Manual CAN parameter in CAN Protocol field as shown in the image on the right hand side. Then user can configure CAN parameters in Manual CAN Settings tab.
| NOTE! | Manual CAN can be tested on FW 55.00.09.rev.04 or newer |
The main benefit, of using Manual CAN functionality is that user is able to read data via CAN BUS without requiring additional CAN protocol development from the device's firmware side. To read data with this functionality, the user must have:
- TFT100 device with CAN interface;
- 55.00.09.Rev.04 or newer firmware;
- Transport with CAN interface;
- Transport's CAN communication protocol (with information about frames, parameters, ID's, baud rate).
Manual CAN I/O
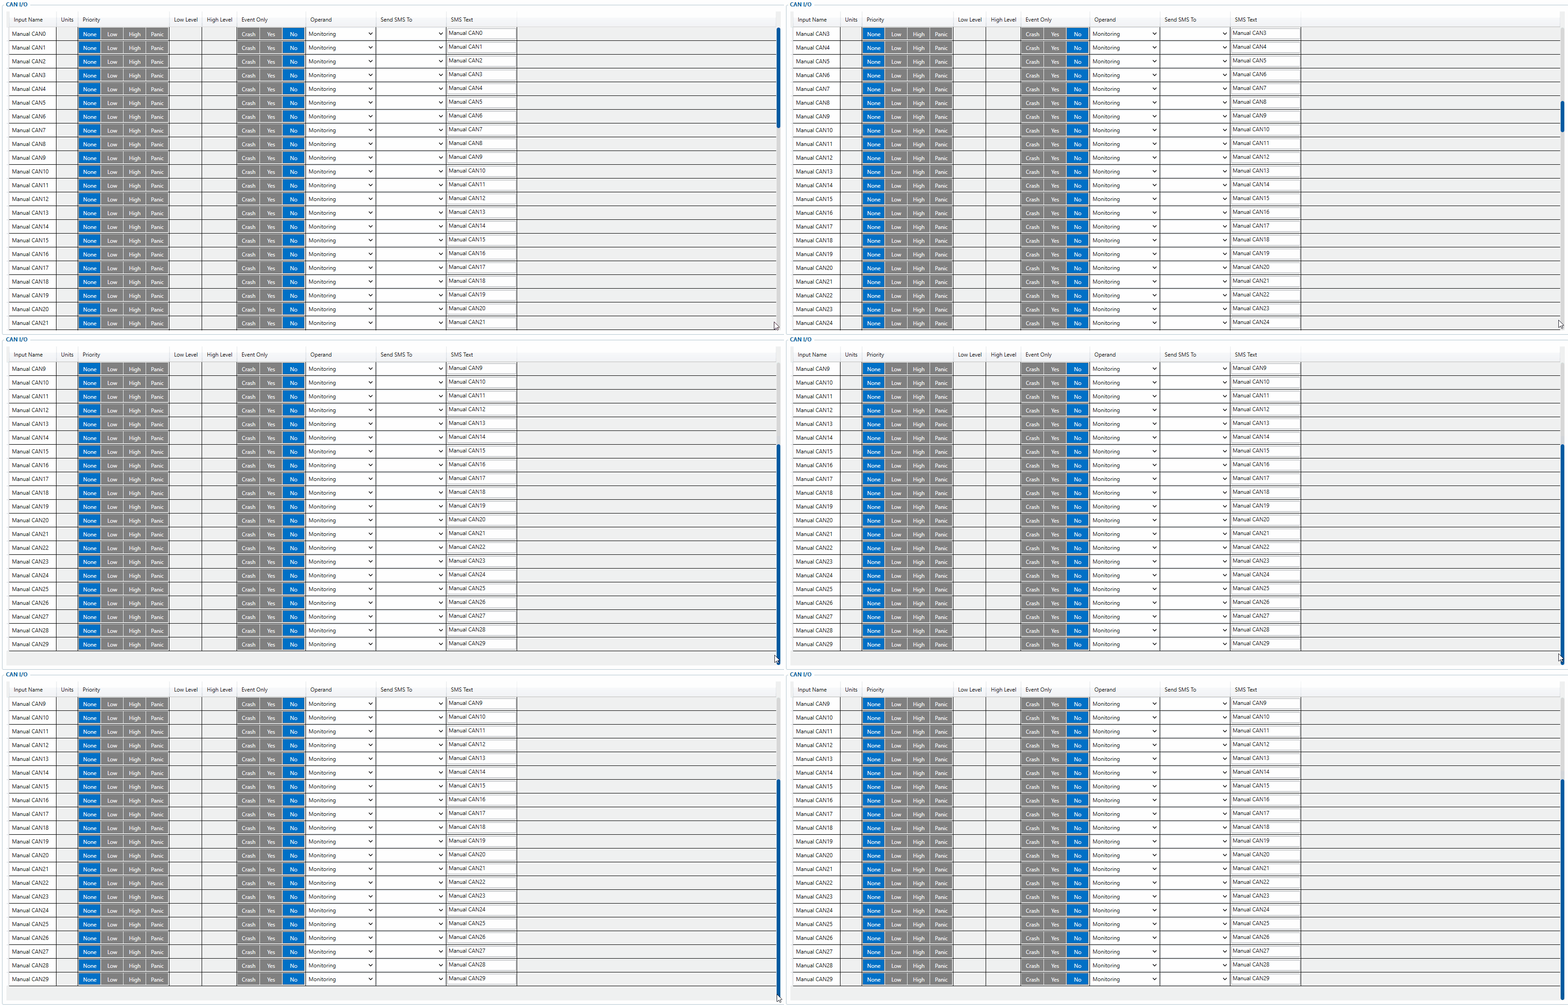
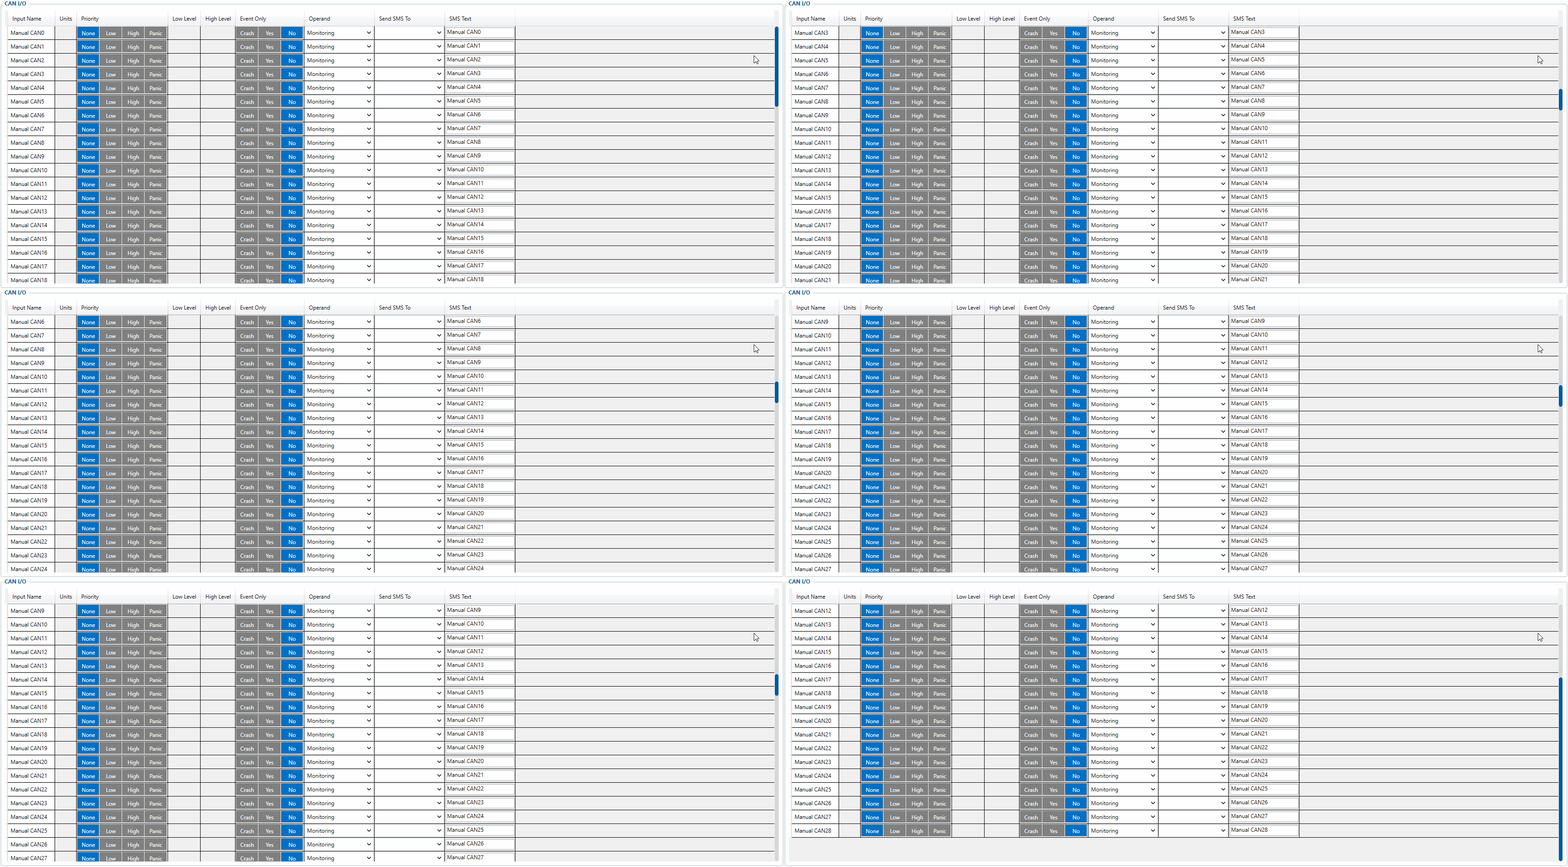
Up to 30 I/O parameters (Priority, Event Only, Operand, Send SMS To, SMS text) for Manual CAN functionality can be configured in CAN I/O tab.
| NOTE! | It is important to not forget that Manual CAN Settings tab must be configured as well. |
The AVL ID list of Manual CAN parameters can be found in here.Full Manual CAN and Manual CAN Settings description can be found in here.Example on how to configure Manual CAN functionality can be found in here.
Manual J1939
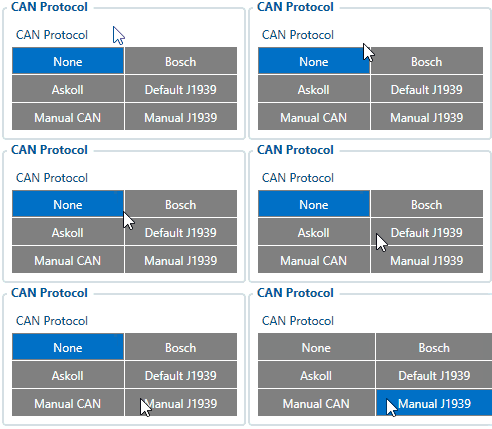
Manual J1939 protocol support was added to TFT100 device's firmware as an addition to Default J1939 protocol in case the given Default J1939 I/O elements are not enough. With this functionality, the user is able to configure which J1939 parameters he would like to read from the transport that uses J1939 protocol. Manual J1939 protocol is enabled by selecting Manual J1939 parameter in CAN Protocol field as shown in the image on the right hand side. Then user can configure CAN parameters in Manual CAN Settings tab.
| NOTE! | Manual J1939 can be tested on FW 55.00.09.rev.08 or newer |
To read data with this functionality, the user must have:
- TFT100 device with CAN interface;
- 55.00.09.Rev.08 or newer firmware;
- Machinery with CAN interface, which communicates via J1939 protocol;
- Machinery's J1939 protocol documentation (with required SPN's and PGN's).
Manual J1939 I/O
Up to 29 I/O parameters (Priority, Event Only, Operand, Send SMS To, SMS text) for Manual J1939 functionality can be configured in CAN I/O tab the same way as for Manual CAN functionality.
| NOTE! | It is important to not forget that Manual CAN Settings tab must be configured as well. |
FLEX
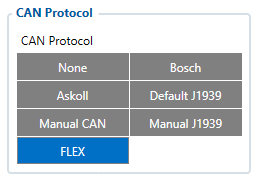
The FLEX protocol is enabled by selecting FLEX parameter in CAN Protocol field.
FLEX I/O
Specific FLEX I/O parameters were implemented to our device's firmware that can be read, configured and sent to the server just like regular I/O parameters.
The AVL ID list of FLEX parameters can be found in here.
Debug
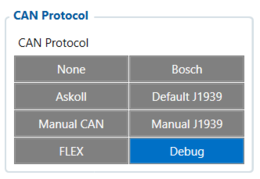 Debug Protocol is used to read all incoming message through CAN, it works as a CAN reader. By default it will print incoming messages into Terminal, including CAN ID and Data. |
 When the DEBUG protocol is selected, CAN Log option will appear. |
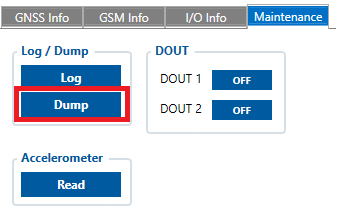 To download saved file go to Status Tab and Maintenance section, press “Dump” button. |
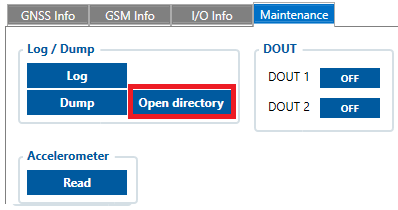 After downloading, follow “Open directory” button. After unzipping file there will be CAN folder with “0.log” file. Maximum file size is 5MB. After exceeding limit it will rewrite data. |
J1939 Settings
 Some J1939 PGN’s are not sent periodically, so they must be requested. In order to request PGN device must be registered to J1939 network. To register device user should configure J1939 Source Address and J1939 Name parameters:
|
CAN I/O reset
 * This parameter is available only with FW 55.01.10.Rev.00 or newer |
Possible values (in seconds):
0 - Data will not be cleaned. If external power is removed it will still keep the value.
1-3600 - Data will be cleaned within timeout period if no more data is received or external power removed.
| NOTE! | CAN IO resets in any case after device restart or CAN Protocol switching. |
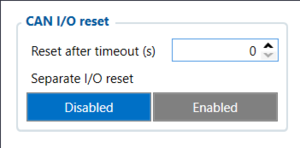
I/O reset description
- Disabled - All I/O's will be reset, when no CAN data received in at least one of I/O's.
- Enabled - Only I/O's with Reset timeout ** parameter enabled (in Manual CAN Settings section) and which received no data will be reset.

