TFT100 Manual CAN settings
Manual CAN Settings (For Manual CAN functionality)

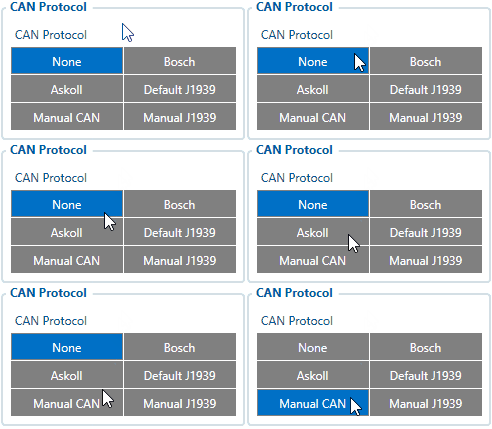
To use Manual CAN protocol user should select Manual CAN protocol in CAN I/O tab. Then user can configure CAN parameters in Manual CAN settings tab.
| NOTE! | Manual CAN can be tested on FW 55.00.09.rev.04 or newer |
The main benefit, of using Manual CAN functionality is that user is able to read data via CAN BUS without requiring additional CAN protocol development from the device's firmware side. To read data with this functionality, the user must have:
- TFT100 device with CAN interface;
- 55.00.09.Rev.04 or newer firmware;
- Transport with CAN interface;
- Transport's CAN communication protocol (with information about frames, parameters, ID's, baud rate).
Manual CAN Baudrate settings
Manual CAN I/O Settings
User can configure 30 Manual CAN I/O element by setting CAN Type, Data Mask, CAN ID, Request ID, Request Period, Request Data Length parameters. Each CAN I/O has its own parameters and can be configured independently.

- Manual CAN Type parameter - defines which CAN ID type will be received and requested (Standard - 11bit, Extended - 29bit).
- CAN ID/PGN - depends on CAN Type parameter and defines which CAN ID will be received by device.
- Data Mask - defines which data mask will be applied to received CAN data. CAN Data mask parameter is 8byte hex value. Displayed data value will be Received Data Value AND Data Mask. For example, if received data is 0x1122334455667788 and data mask is FFFF00000000FFFF displayed value will be 0x1122000000007788. In other words - Data Mask parameter defines which data will be taken from the specific frame.
- Endianess - Little or Big depends on CAN communication protocol. The value should be provided in the protocol description. In most cases the the standard value is Little.
- Request ID/PGN - depends on CAN Type parameter and defines which CAN ID will be requested by device.
- RTR - Remote Transmission Request,is the choice if data frame needs to be send (if disabled) and if data frame needs to be requested (if enabled).
- Payload - defines data bytes, which are send if RTR disabled.
- Request Period - defines how often request will be send. If 0 is selected - ID will not be requested.
- Request data length - defines data length of requested ID.
![]() Note: from the FW 55.01.02.Rev.01 it is possible to configure Speed source and Ignition source separately from other Manual CAN parameters so that the values can be used in other features, for example Speed from the Manual CAN can be used as a Speed Source.
More information can be found here.
Note: from the FW 55.01.02.Rev.01 it is possible to configure Speed source and Ignition source separately from other Manual CAN parameters so that the values can be used in other features, for example Speed from the Manual CAN can be used as a Speed Source.
More information can be found here.
| Instructions on how to configure Manual CAN functionality can be found in here. | |
| Instructions on how to configure Manual CAN Commands can be found in here. |
Manual CAN Settings (For Manual J1939 functionality)

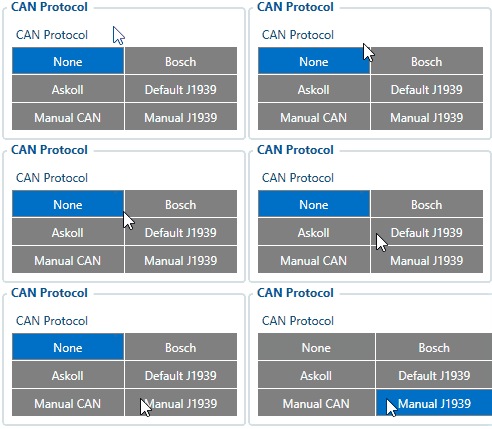
To use Manual J1939 feature user should select Manual J1939 protocol in CAN I/O tab. Then user can configure CAN parameters in Manual CAN settings tab.
| NOTE! | Manual J1939 can be tested on FW 55.00.09.rev.08 or newer |
Manual J1939 protocol support was added to TFT100 device's firmware as an addition to Default J1939 protocol in case the given Default J1939 I/O elements are not enough. With this functionality, the user is able to configure which J1939 parameters he would like to read from the transport that uses J1939 protocol. To read data with this functionality, the user must have:
- TFT100 device with CAN interface;
- 55.00.09.Rev.08 or newer firmware;
- Machinery with CAN interface, which communicates via J1939 protocol;
- Machinery's J1939 protocol documentation (with required SPN's and PGN's).
Manual CAN Baudrate settings
Manual CAN I/O Settings
User can configure 29 Manual CAN (J1939) I/O elements by setting CAN Type, Data Mask, PGN, Request PGN, Request Period parameters. Each CAN I/O has its own parameters and can be configured independently.

- CAN Type parameter - enables or disables current Manual CAN (J1939) element.
- CAN ID/PGN - defines which PGN (Parameter Group Number) will be received by device. For J1939, PGN has to be configured in decimal, not hex.
- Data Mask parameter - defines which data mask will be applied to received CAN data. CAN Data mask parameter is 8byte hex value. Displayed data value will be Received Data Value AND Data Mask. For example, if received data is 0x1122334455667788 and data mask is FFFF00000000FFFF displayed value will be 0x1122000000007788. In other words - Data Mask parameter defines which data will be taken from the specific frame.
- Endianess - Little or Big depends on CAN communication protocol. The value should be provided in the protocol description. In most cases the the standard value is Little.
- Req ID/PGN - defines which PGN will be requested by device.
- Request DA - Request destination address.
- Request Period - defines how often request will be send. If 0 is selected - ID/PGN will not be requested.
Important note!
Send Period details
- If only CAN commands are being used:
- Each command period increases approximately by 50 ms.
- Enabling all messages with the same period adds delay of 500-550 ms
Example: 100 ms Period selected for all commands - each command sending could take up to 550 ms.
- If CAN Commands will be used together with CAN data reading:
- CAN DATA reading increase CAN commands period approximately by 50 ms.
Example: One command configured with 200 ms period - command sending could take up to 250 ms. - Using all CAN commands period increase approximately by 150 ms.
- CAN DATA reading increase CAN commands period approximately by 50 ms.
- CAN Commands will be used together with frequent (less than 5 seconds) records saving/sending:
- One command period increases approximately by 100 ms.
- If all are commands used - period increases approximately by 200 ms.
- CAN Commands will be used together with CAN reading and frequent (less than 5 seconds) records saving/sending:
- Using one command increases period by approximately 250 ms
Example: One command configured with 50 ms period could have delay up to 300 ms. - Enabling all commands could drastically increase delay - sending could take up to 1.5 s (All commands configured with 100 ms period).
- Using one command increases period by approximately 250 ms
We strongly advise:
- If all commands are necessary with certain period - keep all commands with same sending period.
- If one particular command (ex. Heartbeat) is necessary to be sent with specific period - increase particular command period and increase other commands period as high as possible.
For example: Heartbeat 50 ms, all other commands 1000 ms.
That will give particular command priority, but other commands will be sent with a bigger delay than configured. - Do not leave any enabled CAN reading parameters if CAN reading is not used.
- Keep Data Acquisition settings with higher than 15 seconds.
| NOTE! | Send Period details Records could drastically increase CAN command sending period as records could be generated every second by configured Features records, Data Acquisition settings or IO elements operands. Each particular case has different affect for CAN Command delay, that depends on configuration and in case of issue should be investigated individually. |

