Difference between revisions of "DashCam Camera Manual"
| (6 intermediate revisions by the same user not shown) | |||
| Line 2: | Line 2: | ||
==Package contents== | ==Package contents== | ||
[[File:Dashcamparts.jpg|frameless|alt=|left|347x347px]] | [[File:Dashcamparts.jpg|frameless|alt=|left|347x347px]] | ||
| − | |||
| − | |||
There are several components included in the DashCam package box. These components are necessary to set up the camera and make it functional part of the vehicle. | There are several components included in the DashCam package box. These components are necessary to set up the camera and make it functional part of the vehicle. | ||
| Line 10: | Line 8: | ||
'''2. Sticky Tape 3M''' - option no. 1, a double sided sticky tape that can be used to stick the camera unit to the windscreen, this will allow it to be taken off later on without traces. | '''2. Sticky Tape 3M''' - option no. 1, a double sided sticky tape that can be used to stick the camera unit to the windscreen, this will allow it to be taken off later on without traces. | ||
'''3. Screws''' - option no. 2, screws which can be used to screw the camera unit into the designated place just above the windscreen (should not be used on windows). | '''3. Screws''' - option no. 2, screws which can be used to screw the camera unit into the designated place just above the windscreen (should not be used on windows). | ||
| − | |||
| − | |||
| − | |||
| Line 60: | Line 55: | ||
<td style="width: 8%; text-align:left">Supported microSD card sizes</td> | <td style="width: 8%; text-align:left">Supported microSD card sizes</td> | ||
<td style="width: 8%; text-align:left">16 GB, 32 GB, 64 GB, 128 GB</td> | <td style="width: 8%; text-align:left">16 GB, 32 GB, 64 GB, 128 GB</td> | ||
| − | |||
| − | |||
| − | |||
| − | |||
</tr> | </tr> | ||
<tr></table> | <tr></table> | ||
| Line 97: | Line 88: | ||
<tr> | <tr> | ||
<td style="width: 8%; text-align:left">Picture resolution</td> | <td style="width: 8%; text-align:left">Picture resolution</td> | ||
| − | <td style="width: 8%; text-align:left">1280 x 720 (default) , Configurable: 160 x 120; 320 x 240; 640 x 480; 1920 x 1080</td> | + | <td style="width: 8%; text-align:left">1280 x 720 (default) (50KB transfer period 18 sec), Configurable: 160 x 120; 320 x 240; 640 x 480; 1920 x 1080</td> |
</tr> | </tr> | ||
<tr> | <tr> | ||
| Line 109: | Line 100: | ||
<tr> | <tr> | ||
<td style="width: 8%; text-align:left">Video resolution</td> | <td style="width: 8%; text-align:left">Video resolution</td> | ||
| − | <td style="width: 8%; text-align:left">720P </td> | + | <td style="width: 8%; text-align:left">720P (20 sec. – 6MB, transfer period ~ 320 sec.)</td> |
</tr> | </tr> | ||
<tr> | <tr> | ||
Revision as of 06:14, 28 June 2023
Main Page > Video Solutions > Teltonika DashCam > DashCam Camera ManualPackage contents
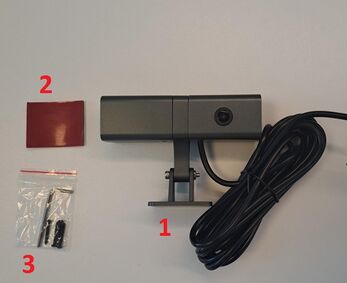
There are several components included in the DashCam package box. These components are necessary to set up the camera and make it functional part of the vehicle.


1. Teltonika DashCam - the main camera unit used to record video/pictures. This unit has cable attached to it for connection purposes e.g. powering up and data transmission.
2. Sticky Tape 3M - option no. 1, a double sided sticky tape that can be used to stick the camera unit to the windscreen, this will allow it to be taken off later on without traces.
3. Screws - option no. 2, screws which can be used to screw the camera unit into the designated place just above the windscreen (should not be used on windows).
Important Set-up links
1. First Start - in this section it is described how to set up the camera before first use. It is essential to know the process as without certain set-up processes the camera will not start or certain functions will not be accessible.
2. DashCam Configuration - this section describes the navigational way inside of the configurator which will be the main tool to set up the camera with the tracking device and make it functional.
3. DashCam Communication Protocol - is used when setting up file upload to servers for quick downloading of data. It is essential part and functionality of the FMX tracking devices family which allows the users to upload data and files from the device effortlessly.
4. DashCam SMS commands - in this section there are SMS sending commands which will help the user by providing easier access to command the device, or request information from it.
5. DashCam Firmware errata - every once in a while an update comes out which improves the functionalities of the DashCam systems and even introduces new ones. It is important to keep track of what is released in order to receive the most out of your DashCam solution.
6. DashCam FAQ - sometimes there will be rising questions to which the answers can not always be found. So a FAQ page has been released in order to collect non-standard information and potentially solve issues that the client might be facing.
Product Specification
| Technical data | Description |
|---|---|
| Supported by | FMC125, FMB125, FMB225, FMC225 |
| Day | Day (Color) |
| Angle of View | Horizontal 120°, Vertical 70° |
| DashCam | Front (equal characteristics) |
| Camera casing dimensions | 126.2 x 36.6 x 36.6 mm |
| Camera mounting | Sticky tape (3M) or screws |
| Supported microSD card sizes | 16 GB, 32 GB, 64 GB, 128 GB |
| Electrical parameters | Description |
|---|---|
| Input voltage range | 9 ~ 36 V |
| Working temperature and humidity | Temperature: -30 °C ~ 85 °C
Humidity: <90% |
| Power consumption | 80 mA |
| Function parameters | Description |
|---|---|
| Real time clock (RTC) synchronization | Available over FM (via NTP, NITZ or GNSS) |
| Picture resolution | 1280 x 720 (default) (50KB transfer period 18 sec), Configurable: 160 x 120; 320 x 240; 640 x 480; 1920 x 1080 |
| Cable length | RS232 (3.5 m) |
| Video compression | H.265 |
| Video resolution | 720P (20 sec. – 6MB, transfer period ~ 320 sec.) |
| Video storage | 1psc. MicroSD card (Max 128GB up to 72 hours of video) |
DashCam data transfer timing
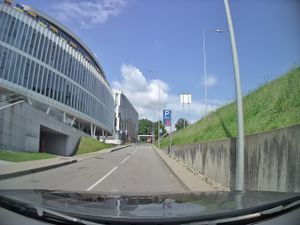
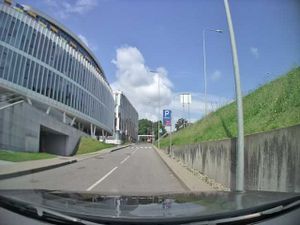
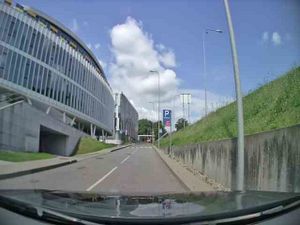
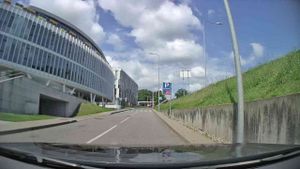
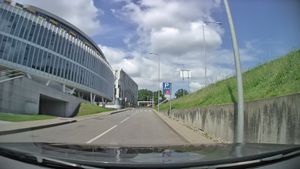
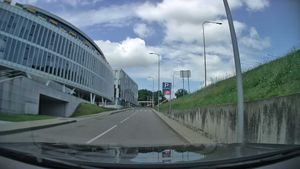
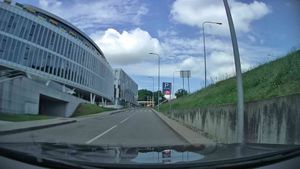
| Image resolution | Image compression (%)* | Video duration (s) | Size of image | Size of video
FMC125 4G / FMB125 2G |
Time interval (s) from trigger to files received on server
FMC125 4G / FMB125 2G |
Photo examples |
|---|---|---|---|---|---|---|
| Image | ||||||
| 640x480 | 0 | - | 136KB | - | 21s / 48s | |
| 640x480 | 50 | - | 23KB | - | 5s / 24s | |
| 640x480 | 100 | - | 7KB | - | 3s / 16s | |
| 1280x720 | 0 | - | 350KB | - | 53s / 90s | |
| 1280x720 | 50 | - | 53KB | - | 10s / 33s | |
| 1280x720 | 100 | - | 17KB | - | 5s/ 17s | |
| 1920x1080 | 0 | - | 764KB | - | 121s / 179s | |
| 1920x1080 | 50 | - | 100KB | - | 17s / 39s | |
| 1920x1080 | 100 | - | 37KB | - | 7s / 28s | |
| Video | ||||||
| 1280x720 | - | 5 front | - | Front mp4 - 570KB, h265-495KB | 76s / 102s | |
| 1280x720 | - | 10 front | - | Front mp4 - 1140KB, h265-990KB | 151s / 204s | - |
| 1280x720 | - | 15 front | - | Front mp4 - 1710KB, h265-1485KB | 227s / 307s | - |
| 1280x720 | - | 30 front | - | Front mp4 - 3420KB, h265-2970KB | 453s / 613s | - |
* NOTE: This approximate time which we receive during testing in real cases can be different.
* NOTE Image compression is a type of data compression applied to digital images, to reduce their cost for storage or transmission. Algorithms may take advantage of visual perception and the statistical properties of image data to provide superior results compared with generic data compression methods which are used for other digital data.
