How to Install FMC640 on DAF XF
From Wiki Knowledge Base | Teltonika GPS
Revision as of 15:10, 23 August 2019 by Aurimas.vanagas (talk | contribs) (Created page with "800px|center ==Installation proccess== * Below is shown main installation location: 800px|center|Fuse panel cover...")
Main Page > EOL Products > FMC640 > FMC640 Manual > How to Install FMC640 on DAF XF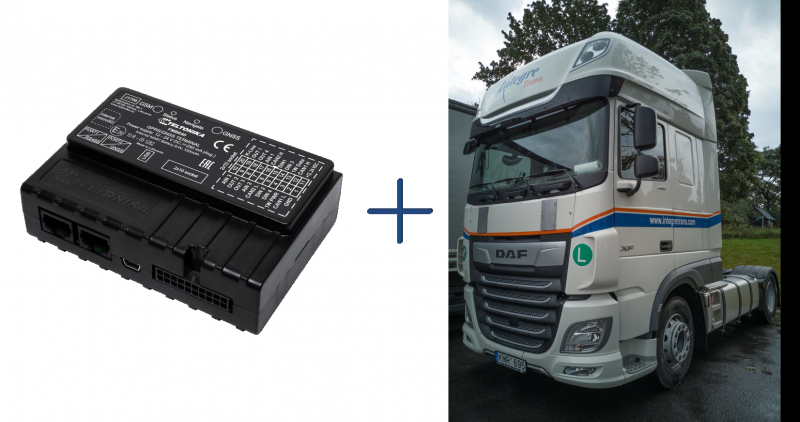

Installation proccess
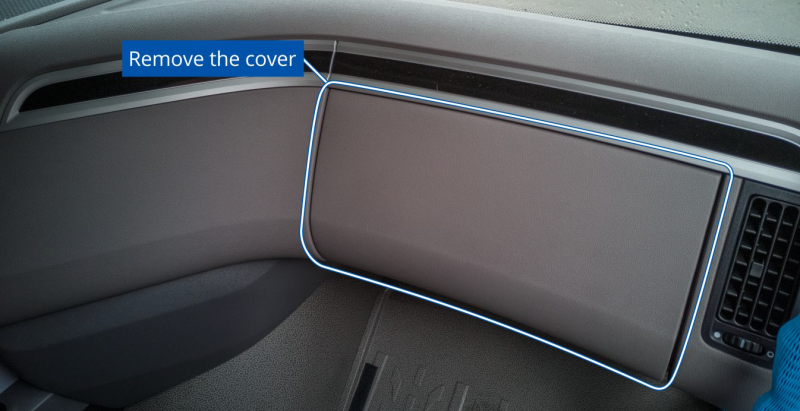
- Below is shown main installation location:

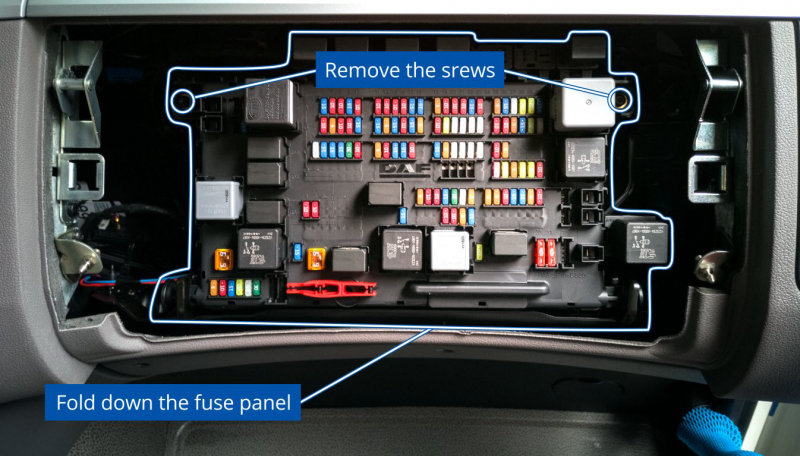
- Carefully unscrew the fuse panel screws and fold the panel down.

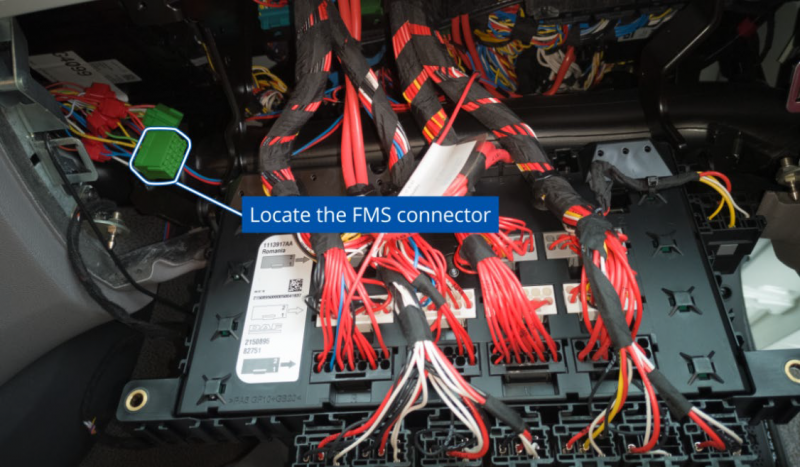
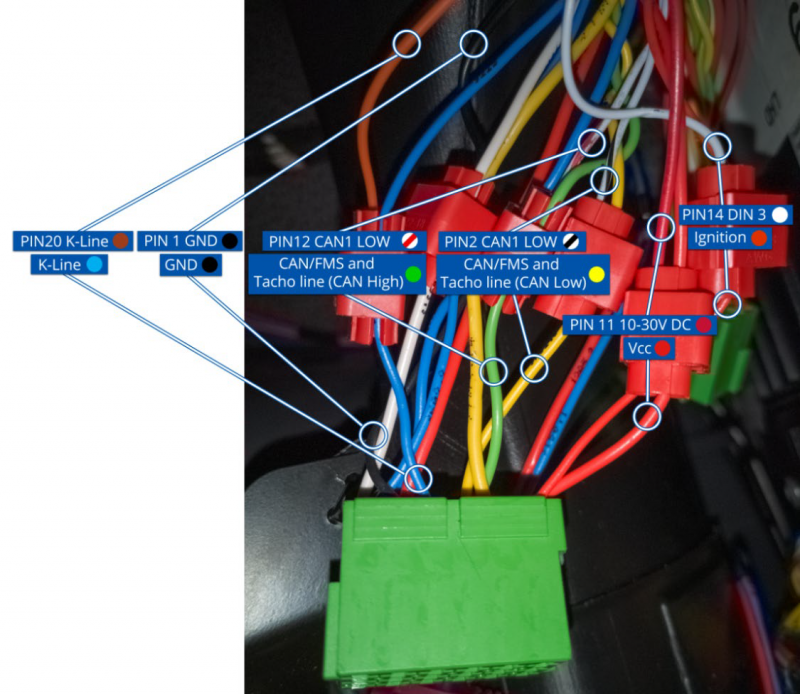
- Where to find main connector?

- Connect the wires accordingly. It is recommended to use DIN 1 instead of DIN 3 for ignition detection.

- After installation and device configuration of FMC640 (CAN1 should be selected – FMS/TACHO), you can check if installation is properly made. Turn on ignition of vehicle and send SMS command: “ tachocheck”. If response shows: “Can1:111,F2EF”, 111 -means tachograph properly connected, F2EF - or any other value which is not equal to 0000, means FMS data received also.

